Last updated on December 18th, 2024

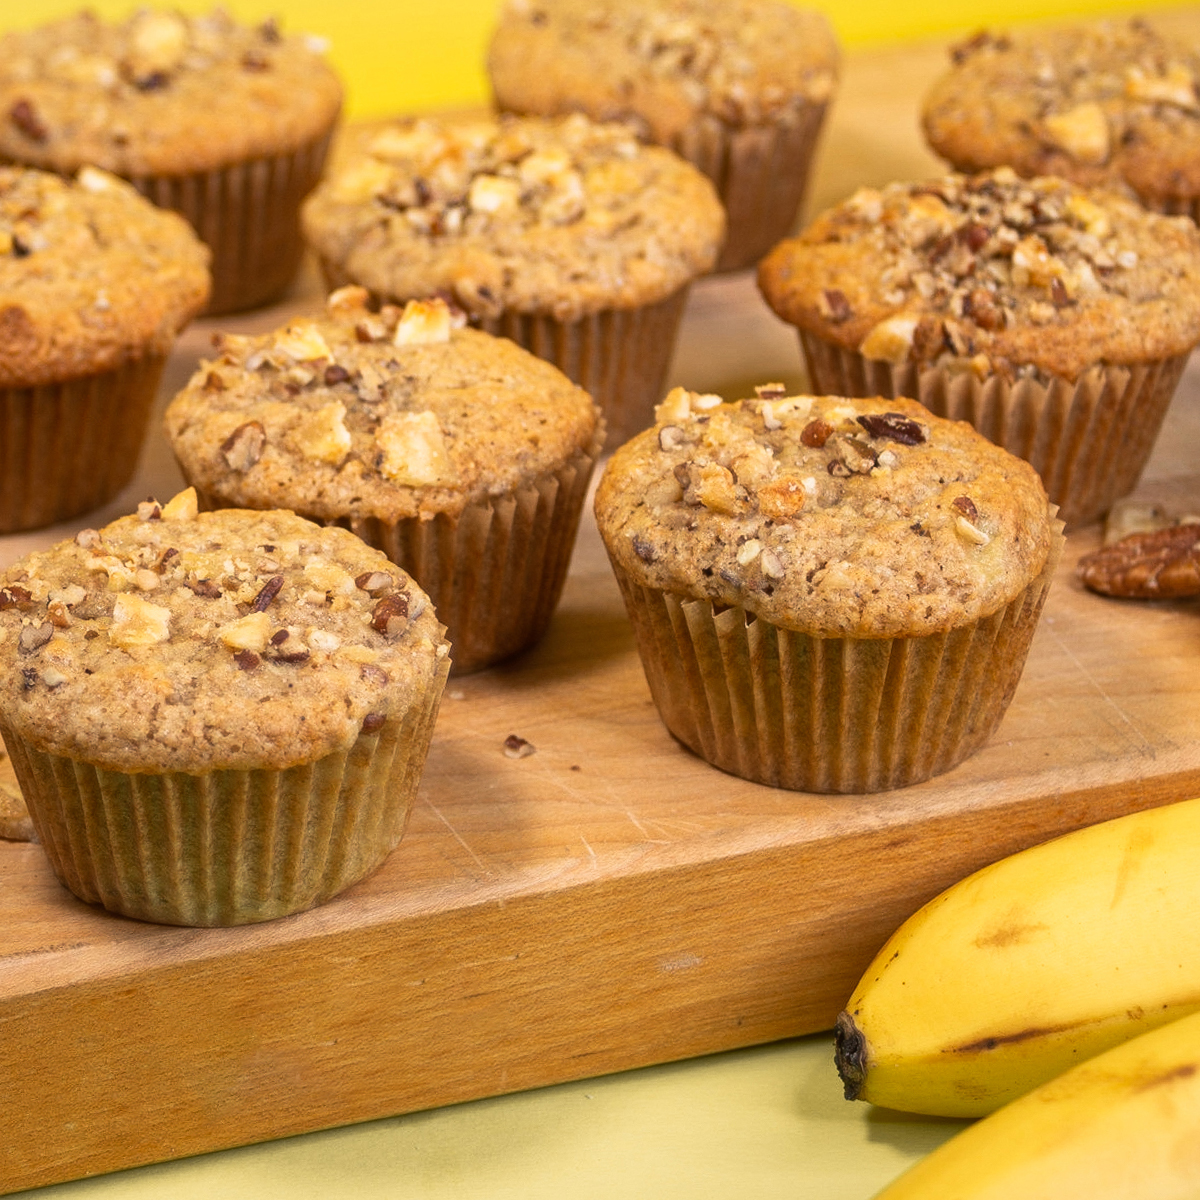
These Banana Nut Muffins are moist and tangy from the buttermilk, have warm spices, and added nuts for texture. This vintage recipe inspiration is from one of my favorite cookbooks, “America Cooks, The General Federation of Women’s Clubs” from 1967. It is an eclectic collection of recipes from women’s service organizations around the United States. The General Federation of Women’s Clubs (GFWC), founded in 1890, seeks to better the community through volunteer efforts and is still active today.
Here is what I did to bake the recipe modern:
- Added warm spice with cinnamon, nutmeg, and vanilla
- Used a combination of brown and white sugar
- Used oil instead of shortening
- Added nuts to enhance taste and texture
Ingredients
Bananas: When making banana baked goods, be sure to use brown-speckled bananas instead of green, unripe ones. Bananas develop more natural sugar as they ripe and making them sweeter. Soft brown bananas also keep your bake moist. If your bananas are not ready to use, simply slow roast them in a 300° oven for 30 minutes until they are black outside and soft inside.
Oil: I’ve modified the original recipe by using oil instead of shortening. Shortening, which has a waxy texture and lacks flavor, was used in many recipes of the early 20th century because it was readily available, cheaper and shelf-stable. Using oil in your baked goods makes make for a tender, moist crumb. Use a mild oil such as canola or ‘extra light’ extra virgin olive oil so that it doesn’t overpower your baked good.
Buttermilk: For a light tender crumb, use buttermilk or heavy cream. If you don’t have buttermilk on hand, make it yourself by adding 1 T. of white vinegar into a liquid measuring cup and then fill it with milk or cream to the 1 c. line (whole milk is best). Dry buttermilk is also really nice to have stocked in your pantry to mix up as needed.
Nuts: There are many nuts that can be added to baked goods. I prefer to use a combination like pecans and walnuts mixed together. For a fast, easy way to chop nuts, I use a
Steps
PREP
- Pre-heat oven to 350°.
- Line muffin pan with muffin liners, or spray with non-stick spray.
- Mash bananas in a separate bowl and set aside.
- Mix together dry ingredients.
MIX
- Place dry ingredients in bowl.
- Add oil, buttermilk, egg, mashed banana, and vanilla and mix well.
- Scoop batter into muffin liners ¾ full. Sprinkle muffin tops with chopped nuts.
BAKE
- Bake at 375° for 10 minutes. Reduce to 350° and bake an additional 13-15 minutes until center is firm to touch. (oven time may vary). Let cool and store in air-tight container.
EQUIPMENT
muffin pan:
Aluminum muffin pans are best since they conduct even heat. I prefer to use vintage muffin pans or modern NordicWare. You can choose to spray the pan or use natural muffin liners. I always lightly spray the muffin pan before I put the muffin liners in, to prevent the muffins from sticking in case they spill over the liners.
Check out these Breakfast Bakegoods recipes:

Banana Nut Muffins
Ingredients
DRY INGREDIENTS
- 1 ½ c. flour
- ⅓ c. sugar
- ⅓ c. brown sugar
- 1 tsp. baking powder
- ½ tsp. baking soda
- ½ tsp. salt
- ½ tsp. cinnamon
- ¼ tsp. nutmeg
WET INGREDIENTS
- ⅓ c. oil
- 1 egg
- ¼ c. buttermilk or milk
- 1 c. mashed banana (about 1-2 bananas)
- 1 tsp. vanilla
MIX-INS
- ¾ c. nuts (walnuts or pecans). Reserve 1/4 c. for muffin tops chopped
Instructions
- PREP
- Line muffin pan with muffin liners, or spray with non-stick spray.
- Mash bananas in a separate bowl and set aside.
- Mix together dry ingredients.
MAKE BATTER
- Place dry ingredients in bowl.
- Add oil, buttermilk, egg, mashed banana, and vanilla and mix well.
- Scoop batter into muffin liners ¾ full. Sprinkle muffin tops with chopped nuts.
BAKE
- Bake at 375° for 10 minutes. Reduce to 350° and bake an additional 13-15 minutes until center is firm to touch. (oven time may vary). Let cool and store in air-tight container.
Notes
Please let me know how it turned out for you! Leave a comment below and tag @vintagebakedmodern on Instagram and hashtag it #vintagebakedmodern
This post may contain affiliate links, which means we may receive a commission, at no cost to you, if you make a purchase through a link. Please see our full disclosure for further information. If not otherwise stated, all prices are intended in US$.”
jt0q2t
3lnb7z