Last updated on February 23rd, 2025

These Gingerbread Cookies with Royal Icing have crispy edges, tender center and spicy bite and are topped with a light and fluffy royal icing. These cookies have a spicy, pungent bite from the molasses and combination of warm spices. The royal icing has a fluffy texture, but still skins over making the cookies easy to stack for Christmas cookie trays.
I only use real butter in my baking instead of shortening. Vintage recipes typically call for shortening to ensure less cookie spread, however to me it has a waxy texture and lack of flavor so I prefer to just use butter.
INGREDIENTS
Butter: Since butter is the star ingredient in shortbread, the higher quality butter, the better your shortbread will taste. I use either Challenge or Land O’ Lakes European Style. European butter has more flavor and less water. It’s also churned longer and produces a higher percentage of fat (82%-85%), producing a slightly more tangy flavor. American butter is regulated by the USDA to have a minimum of 80% fat.
Buttermilk: If you don’t have buttermilk on hand, you can make your own by placing in a liquid measuring cup 1 tsp. of white vinegar and then filling up the measuring cup to the 1/3 c. Another option is to keep dry buttermilk in your pantry and just whip up as needed.
molasses: There are 3 types of conventional molasses: regular, robust, and blackstrap. The sugar content varies from the way in which it was processed. The lighter the molasses, the sweeter it tastes. When measuring out molasses, lightly spray the liquid measuring cup with canola spray. This will ensure your molasses will pour out easier and you will get every drop measured out.
1. GATHER EQUIPMENT
- Basic baking equipment: measuring cups and spoons, liquid measuring cups, spatula, bowls, cookie sheet, Silpat baking mat or parchment paper
- Highly Recommended: cookie cutters, piping bags, piping tips, stand mixer
2. MAKE THE COOKIE DOUGH
- PREP: Cut 2 sheets of parchment paper for baking sheets. Whisk together dry ingredients. Pre-measure out molasses by lightly spraying the liquid measuring cup with canola spray. This will ensure your molasses will pour out easier and you will get every drop measured out.
- MAKE BATTER: Mix together butter and sugar, add dry ingredients, add wet ingredients.
- ROLL & CUT DOUGH: Roll out dough between the 2 sheets of parchment. After rolling out the dough between the parchment paper, chill for at least 1-hour to overnight. It is so much easier to cut shapes from chilled dough. Chill the cookie cut-outs again for 5 minutes before baking to keep the dough from spreading out during baking, thus preserving the shape of the cookie.
3. BAKE: 350° for 12 about minutes. Let cookies cool on a bakers rack before frosting them.
4. MAKE ROYAL ICING
- The fluffy frosting in this recipe has a light, marshmallow-like taste. It does involve a few more ingredients and steps than your typical royal icing, but is so worth it.
- For a simple royal icing: beat together 3 egg whites, 3 c. confectioners sugar, 1/2 tsp. cream of tarter and 1 T. vanilla.
- Since I only use natural, pure vanilla extract which tints the frosting, add a few drops of white food coloring to brighten up the frosting.
- Be sure to keep royal icing covered once it has been made. It dries out very fast and will harden.
6. DECORATE COOKIES:
- Fill piping bags with royal icing. Be sure to seal the open end either with a chip clip or Wilton Icing Ties. Keep filled piping bags upright in a glass. Place a moist paper towel at the bottom of the glass, as the icing will dry out fast.
- Easy Method: Fill a disposable tipless piping bag or even a ziploc bag with a corner cut out. I prefer to use tipless piping bags that are anti-burst and also textured. This helps provide a grip when both filling and holding the bag.
- Intermediate Method: Use piping bags filled with a piping coupler and metal tips. Wilton, PME, or Atteco are good brands of tips to use.
7. STORAGE
Store the cookies between parchment paper in sealed container or holiday tins. For a simple holiday gift, put some pretzels into a cello bag and tie with a cute bow. To keep during the holiday season, place container in cool part of the house or garage.
Another option is to individually bag each cookie in a translucent cello bag using a heat-sealer. Heat-sealers are simple to use and can really extend the shelf-life of a cookie.
You can also freeze the cookies in a freezer-safe container for up to 6 months. Place the cookies between layers of parchment or wax paper. To thaw, place container on counter-top and do not open the lid until they come to room temperature.
Equipment & Supplies
baking sheets: Always use light-colored, aluminum cookie sheet. Aluminum is best for distributing and reflecting even heat during the baking process. I use Nordic Ware aluminum 18×13 half-sheet pans. Dark cookie sheets conduct more heat off the surface, which may lead to your baked goods to burn or darken on the edges before they are fully cooked.

Silpat baking mat OR parchment paper: After you have dipped the cookies be sure to put them on a non-stick surface such as sheets of parchment paper or a non-stick baking mat.

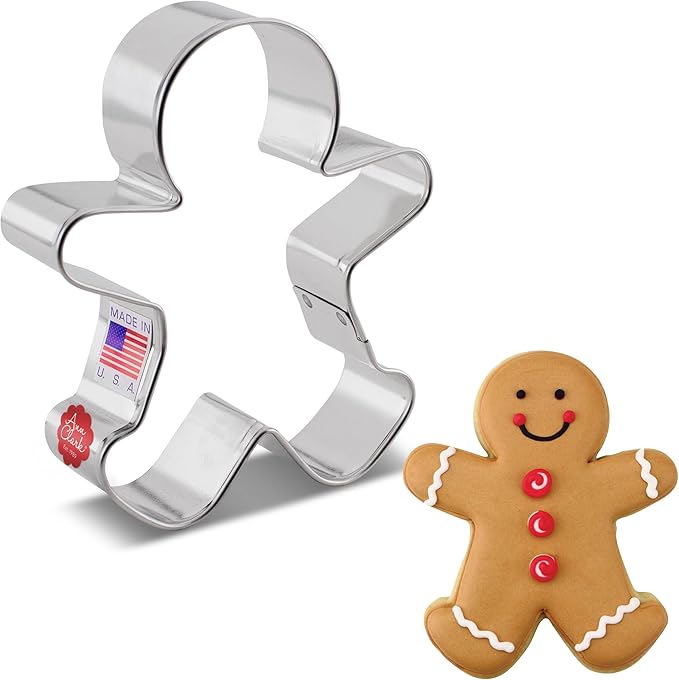
Cookie cutters: I used my vintage gingerbread cutters for these cookies. These metal cutters were made thin and contain tiny details, so be sure to first spray them with non-stick spray then dip them in flour before cutting out your cookies. You may be able to find vintage cutters at your local antique or resale shop, Etsy or Ebay.
For modern metal cutters, you will only need to dip them lightly in flour before use. There are a few brands of cookies cutters I prefer to buy like Ann Clark, R&M International, and Wilton.

Stand Mixer: The number one tool I feel as a pro baker is to have a stand mixer. Kitchen Aid mixers are high-quality and last for several years. I prefer a mixer with the lift option vs. the tilt so that you have more control when adding your ingredients into the bowl.

TO MAKE GLUTEN-FREE:
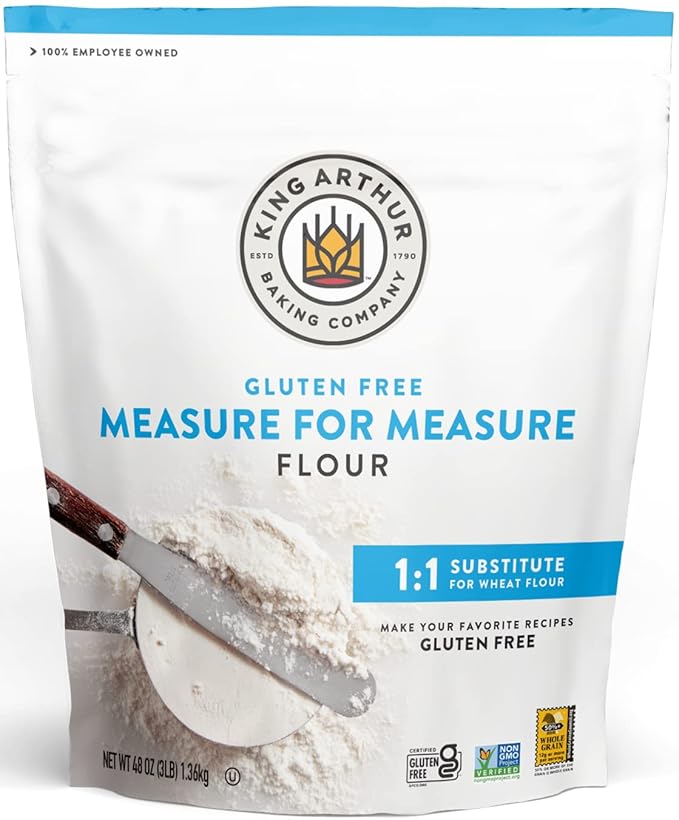
- Swap out the flour with gluten-free flour. I recommend using a high-quality brand such as King Arthur’s Gluten-Free Flour.

BAKER’S TIP: If time allows, be sure to let the batter rest as hydrating the gluten-free flour is an important step to help eliminate grittiness.
TO MAKE VEGAN/DAIRY FREE:
- When making the cookies, swap out the butter with vegan butter. I tend to use Violife Plant Butter or Country Crock Olive Oil Sticks. To keep pie crust from shrinking, be sure to chill pie dough before filling and baking since plant-based butter contains mostly oil.
- My favorite egg replacement is to add 1 tsp. baking powder with 1 T. of white vinegar poured over it when making the dough.
Here are some more Christmas recipes to try this Holiday season:

Gingerbread Cookies with Fluffy Royal Icing
Ingredients
DRY INGEDIENTS
- 5 ¾ c. unbleached flour
- ⅔ c. brown sugar
- ⅓ c. sugar
- ½ tsp. baking soda
- 4 tsp. ginger
- 2 ½ tsp. cinnamon
- 1 tsp. clove
- ½ tsp. nutmeg
- ¼ tsp. black pepper
- 1 tsp. salt
WET INGREDIENTS
- 1 c. unsalted butter
- 1 ¼ c. molasses
- 2 eggs
- 1 tsp. vanilla
- ⅓ c. buttermilk
ROYAL ICING
- 1 envelope unflavored gelatin
- ½ c. water
- 1 c. sugar
- 2 c. confectioner sugar
- 3 egg whites
- ½ tsp. cream of tarter
- 2 tsp. vanilla
Instructions
PREP
- Whisk together dry ingredients in a bowl.
- Line cookie sheets with parchment paper.
BATTER
- Cream butter, brown sugar, and sugar until fluffy and light in color. Add eggs, molasses, and vanilla and mix together.
- Add in dry ingredients and mix together until batter just comes together. Chill 2 hours to overnight to let flavors meld together.
- Separate dough into 3 sections. Roll out eat section to 1/4" between 2 sheets of parchment paper cut to fit baking sheets.
- Cut out shapes with cookie cutters. Place cookies on baking sheet and chill in fridge for 5-10 minutes.
BAKE
- Pre-heat oven to 350°
- Bake cookies for about 12 minutes. Take out and let them sit on cookie sheet another 2-4 minutes and they will crisp up on the cookie sheet.
- If your going to re-roll any scraps, you will need to follow the same process: re-roll scraps between parchment paper, chill for at least 1 hour, cut shapes and chill again for 5-10 minutes before baking.
- Let cookies cool and frost with royal icing. Store in sealed container on counter 2-3 days or in freezer up to 6 months.
ROYAL ICING
- Place egg whites and cream of tarter in mixer with the whisk attachment and beat for 2-3 minutes
- In a metal bowl over a pot of simmering water place water and sprinkle in the gelatin over the water and let it sit for 2 minutes. Stir in sugar and cook for 5-7 minutes or until sugar is fully dissolved.
- Add the sugar mixture to the mixer. Add powdered sugar into the egg whites and beat on medium high speed for another 10-12 minutes until stiff peak. Add in vanilla and white food color.
- This frosting will crust fast so you need to keep covered with a wet paper towel while you decorate the cookies.
Please let me know how it turned out for you! Leave a comment below and tag @vintagebakedmodern on Instagram and hashtag it #vintagebakedmodern
FOLLOW US ON SOCIAL! Stay connected with us for more vintage recipe inspirations! Follow us on Pinterest, Facebook, and Instagram for recipes and our vintage cookbook collection. Click below to follow!
This post may contain affiliate links, which means we may receive a commission, at no cost to you, if you make a purchase through a link. Please see our full disclosure for further information.