Table of contents
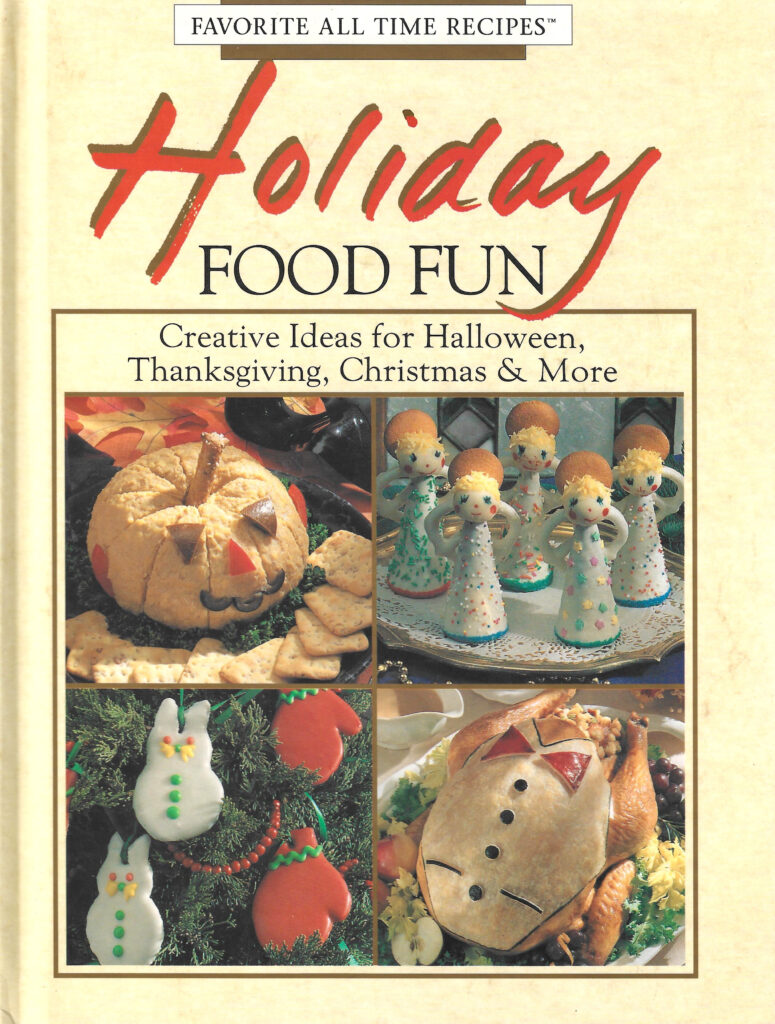
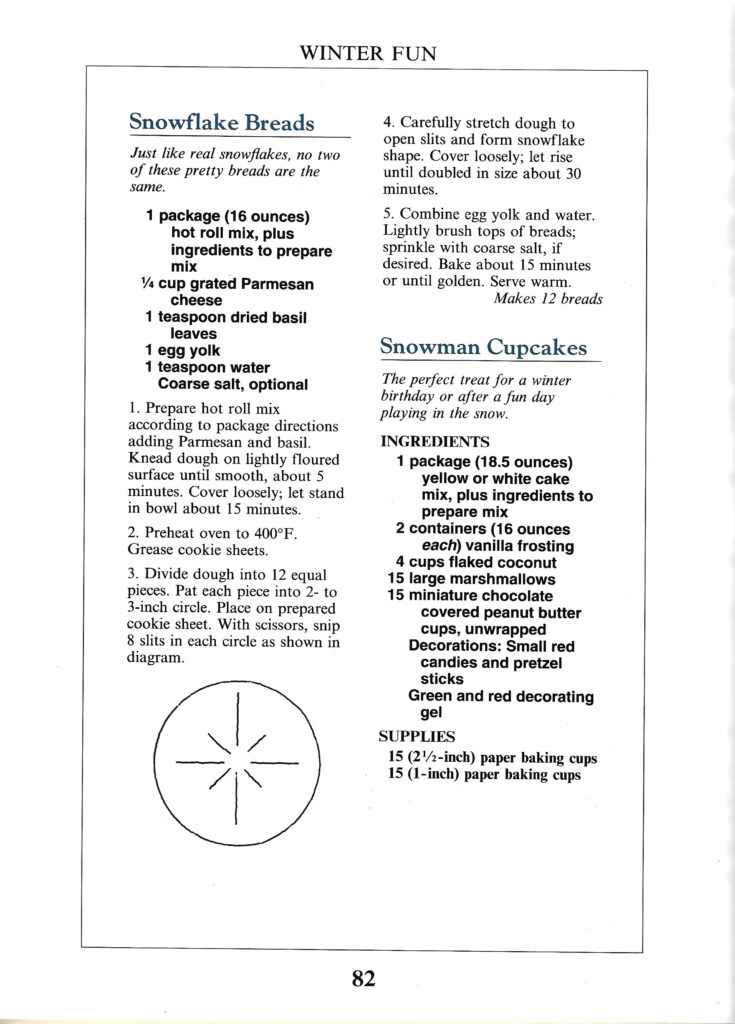
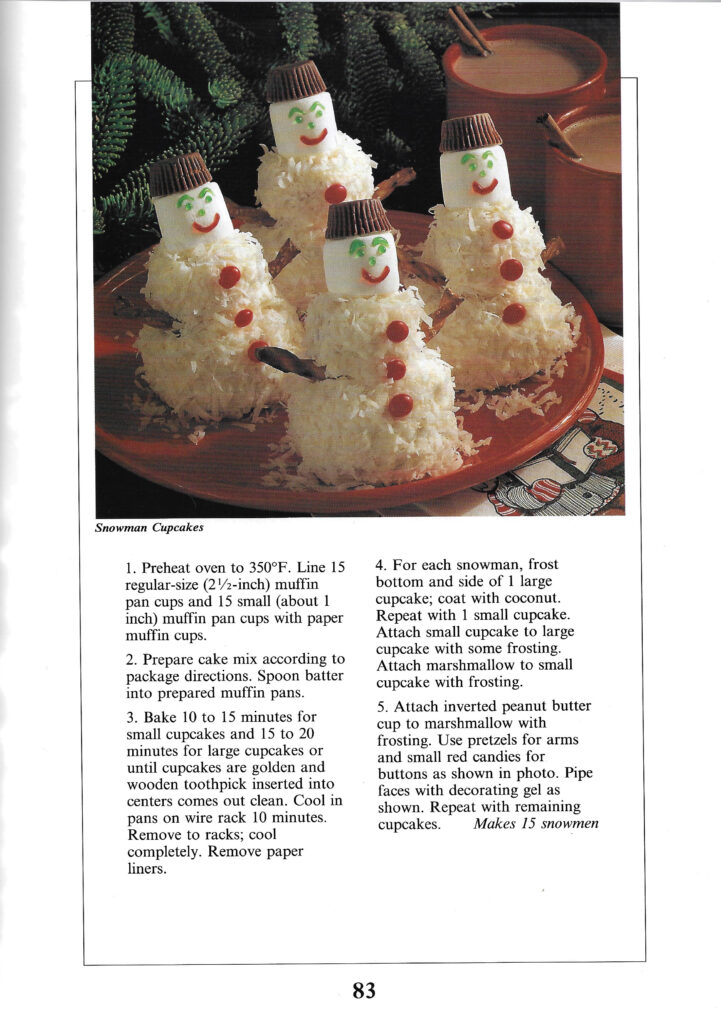
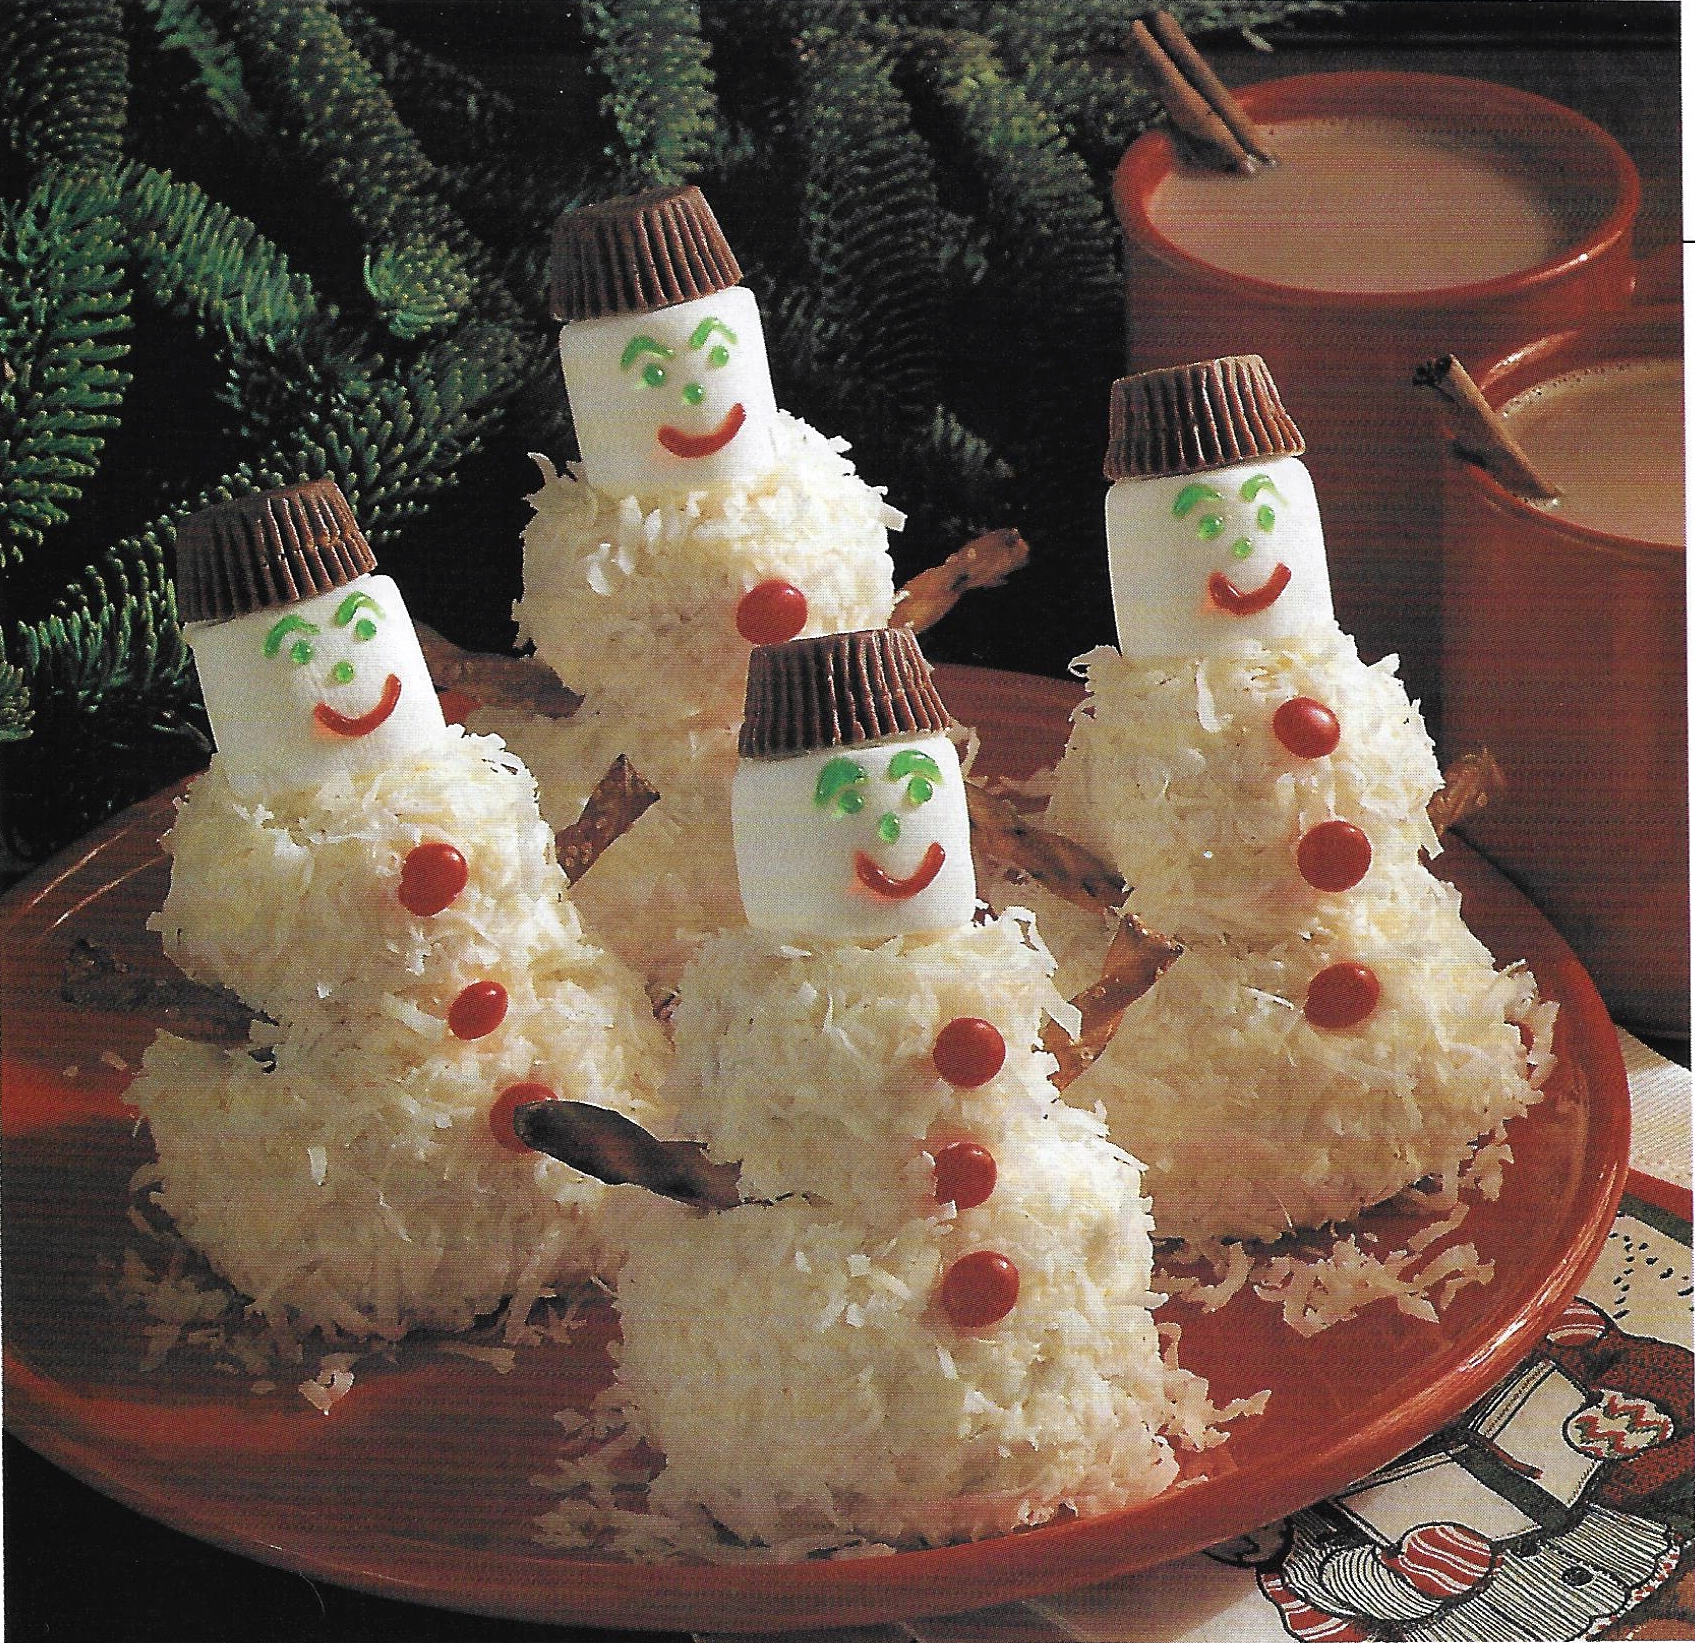
These cute Snowman Cupcakes from a 1993 book called “Holiday Food Fun” are a quick dessert to make using a basic white cake mix, frosting and simple decorations. These make for a fun food project on cold winter days, so grab the kids and set aside some family time to make and enjoy as well.
Ingredients
Cake Mix: Try to find a cake mix that is all-natural in both ingredients and flavor. Most grocery stores only carry cake mix that contains artificial flavors, chemicals and preservatives.
Frosting: Try to find a prepared frosting that is all-natural in both ingredients and flavor. For this project I would suggest “whipped” variety to make it fluffy for the snowman. I always make my own buttercream frosting that is all-natural and made fresh. It is easier than you think…Just whip together 1 cup (2 sticks of butter), 3 cups of powdered sugar, and 2-3 Tablespoons of milk or cream, 1 Tablespoon of vanilla.
Shredded Coconut: Sweetened coconut flakes are readily available, however, for those looking for coconut less sweet try unsweetened coconut.
Decorations:
Pretzel Sticks (for the arms)
Cinnamon candies (for the buttons)
Colored Food Gel (to draw on face)
Reese’s cups (for the top hat)
Large Marshmallows (to make the face)
RECIPE
INGREDIENTS
1 package (18.5 ounces) yellow or white cake mix, plus ingredients to prepare mix
2 containers (16 ounces each) vanilla frosting
4 cups flaked coconut
15 large marshmallows
15 miniature chocolate covered peanut butter cups, unwrapped
Decorations: Small red candies and pretzel sticks
Green and red decorating gel
SUPPLIES
15 (2½-inch) paper baking cups
15 (1-inch) paper baking cup
DIRECTIONS
Preheat oven to 350°F. Line 15 regular-size (2½/-inch) muffin pan cups and 15 small (about 1 inch) muffin pan cups with paper muffin cups.
Prepare cake mix according to package directions. Spoon batter into prepared muffin pans.
Bake 10 to 15 minutes for small cupcakes and 15 to 20 minutes for large cupcakes or until cupcakes are golden and wooden toothpick inserted into centers comes out clean. Cool in pans on wire rack 10 minutes. Remove to racks; cool completelv. Remove paper liners.
For each snowman, frost bottom and side of 1 large cupcake; coat with coconut. Repeat with 1 small cupcake Attach small cupcake to large cupcake with some frosting. Attach marshmallow to small cupcake with frosting.
Attach inverted peanut butter cup to marshmallow with frosting. Use pretzels for arms and small red candies for buttons as shown in photo. Pipe faces with decorating gel as shown. Repeat with remaining cupcakes.
Makes 15 snowmen
Method
1. GATHER EQUIPMENT
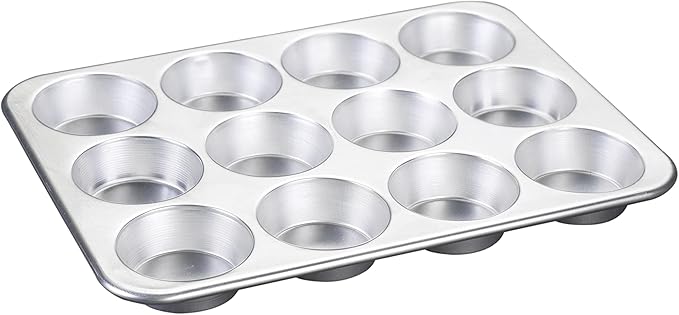
- Basic baking equipment: measuring cups and spoons, liquid measuring cups, spatula, bowls, (2) cupcake pans, cupcake liners
- Highly Recommended: stand or hand mixer
- Recommended (not required): piping bags
1. MAKE THE CUPCAKES
- Follow directions on box mix. To “doctor” a white cake mix to enhance the flavor, use half butter and half oil (to total amount called for), add 2 tsp. vanilla or vanilla bean paste., add 1 extra egg white, replace water and use a combination of sour cream or milk for the liquid (same amount called for on box).
2. FROST & DECORATE THE CUPCAKES
- Use prepared canned frosting – I would recommend using Duncan Hines fluffy white frosting.
Dietary Substitutions
TO MAKE GLUTEN-FREE:
- Use a high-quality cake mix such as King Arthur’s Gluten-Free Cake Mix.
- Add an additional 1-2 tablespoons of milk or sour cream to help hydrate the mix.
BAKER’S TIP: If time allows, be sure to let the batter rest as hydrating the gluten-free flour is an important step to help eliminate grittiness.
TO MAKE VEGAN/DAIRY FREE:
- When making the cupcake batter, swap out the butter with vegan butter. My favorite is Violife Plant Butter or Country Crock Olive Oil Sticks. To keep pie crust from shrinking, be sure to chill pie dough before filling and baking since plant-based butter contains mostly oil.
- Substitute the frosting with vegan butter.
Equipment
Storage
Cover and leave on counter up to 3 days. To freeze, place in a freezer-safe container up to 6 months.
Here are more vintage cake recipes to try:
Please let me know how it turned out for you! Leave a comment below and tag @vintagebakedmodern on Instagram and hashtag it #vintagebakedmodern
This post may contain affiliate links, which means we may receive a commission, at no cost to you, if you make a purchase through a link. Please see our full disclosure for further information.
Images from Holiday Food Fun (1993)
