Last updated on February 18th, 2025
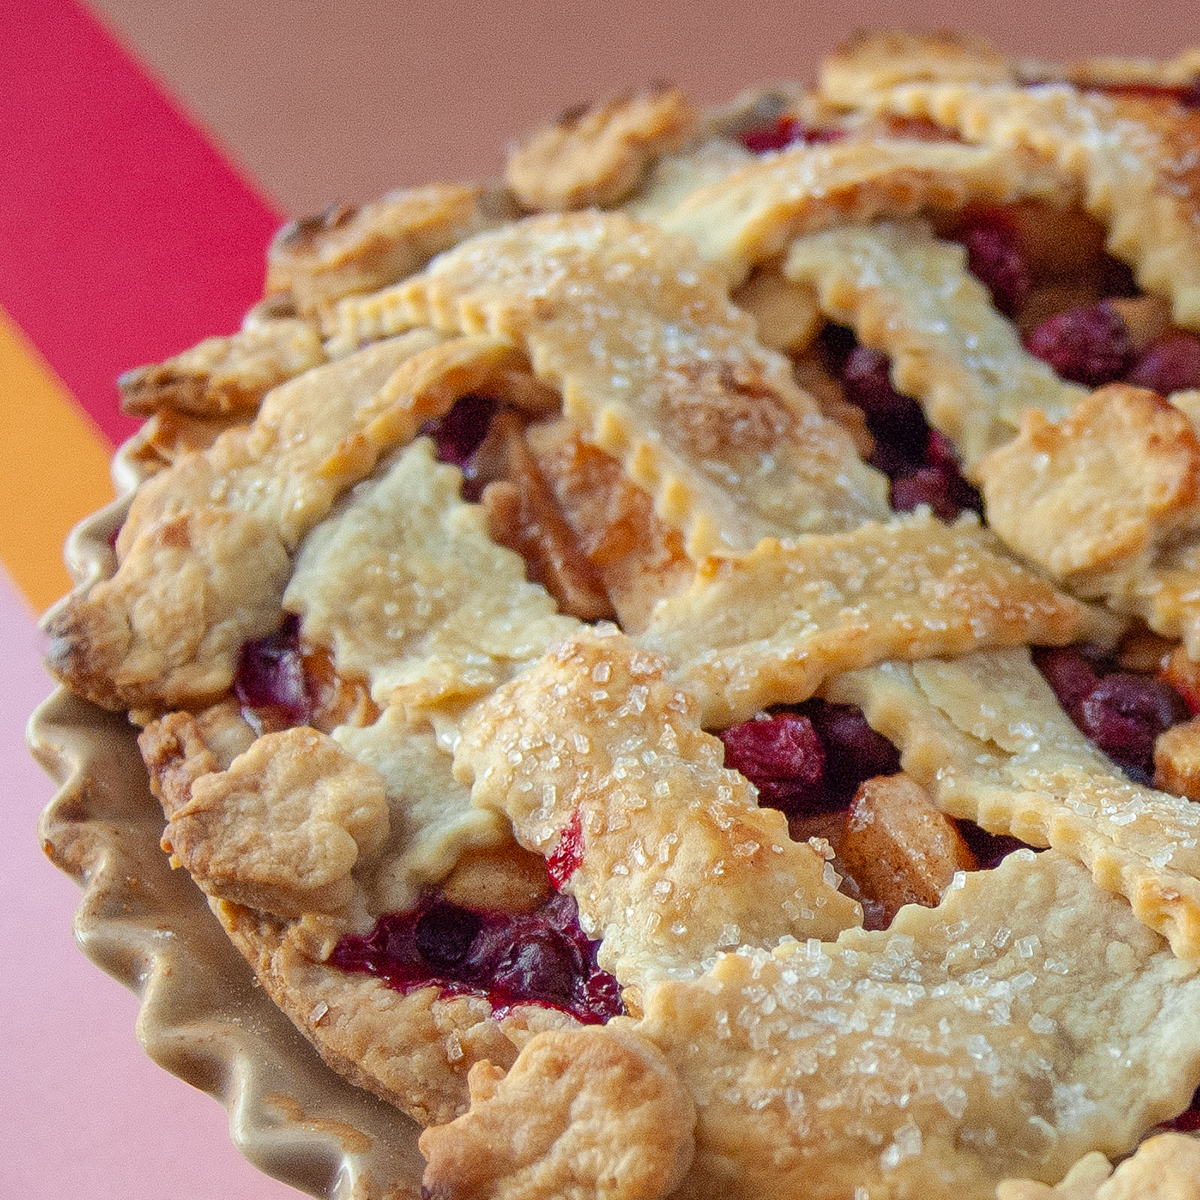
Apple Cranberry Pie combines natural ingredients like a blend of juicy apples, tart cranberries, and homemade apple pie spice, nestled in a flaky, all-butter lattice crust. As the fall season sets in, we start to crave a warm, cozy slice of pie. This twist on my traditional apple pie, the quintessential fall dessert, is the perfect addition to your Thanksgiving dessert table and sure to become a new holiday favorite.
Ingredients
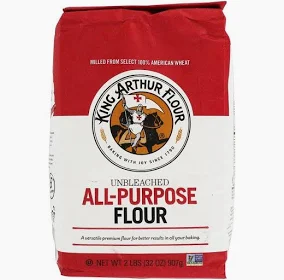




Flour: Use all-purpose unbleached flour with 10-12% protein, such as King Arthur or Sir Galahad Artisan Flour (its bulk-purchased name) which has 11.7% protein. Avoid bread flour, as its higher protein content (11-14%), develops more gluten, which results in dense baked goods.
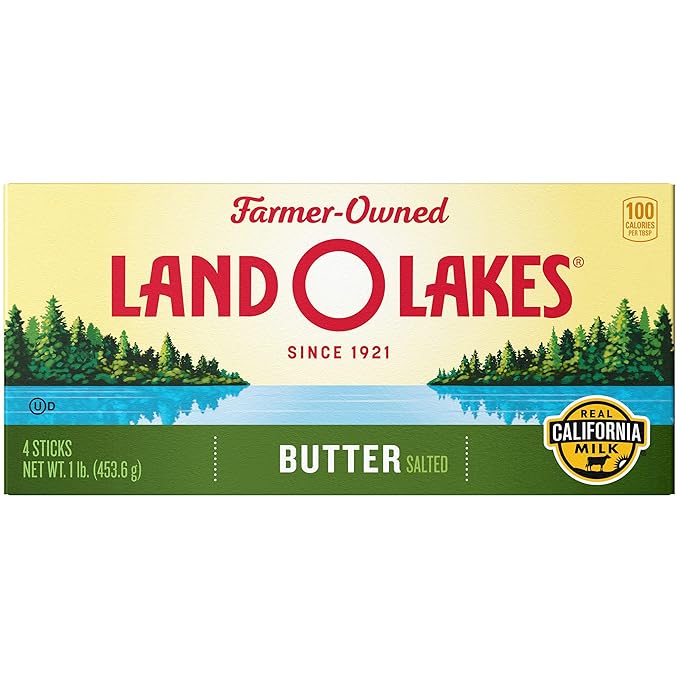
Butter: American butter is made from cream and contains 80% butterfat as regulated by the USDA. Try to use a good quality butter in baked goods as it will make a difference. Another option is European butter, which is churned longer, has a higher fat content (82%-85%), with less water it yields more flavor, but can be more expensive.
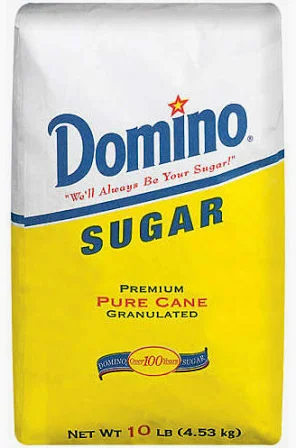
sugar: Sugar is derived from sugarcane and is a key ingredient in baking that provides sweetness, texture, and moisture to baked goods. The most common type being granulated white sugar. For a more natural option, use cane sugar which is less processed and has a slight golden color and hint of molasses. It does have a slightly courser texture, so be sure to incorporate a bit longer when mixing into recipes.
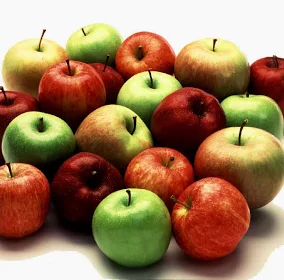
Apples: Use a variety of apples like Jonagold, Jonathan and Granny Smith. Jonagold and Jonathan apples for the best combination of flavor and texture. Jonagold and Jonathan apples have balance of both sweet and tart flavor with a firm texture. Granny Smith apples are very tart, and firm, making them ideal for baking since they aren’t as mushy.
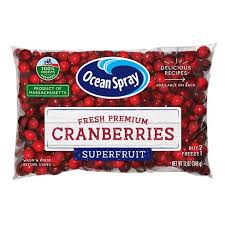
Cranberries: Cranberries are a tart, slightly bitter fruit that grow on low vines in bogs. In the fall they are harvested by flooding the bogs, causing the berries to float to the top of the water. Use whole, fresh or frozen cranberries in the pie. If using frozen berries, add them directly into the pie filling to prevent excess moisture and mushy texture.
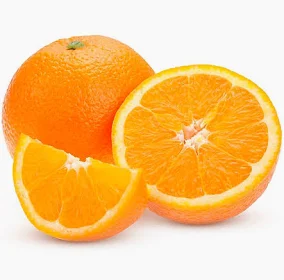
Orange: Oranges are a citrus fruit that add a bright, zesty flavor to savory and sweet foods. Using both the zest and the juice enhances the flavor and helps balance the sweetness of the apples and tartness of the cranberries.
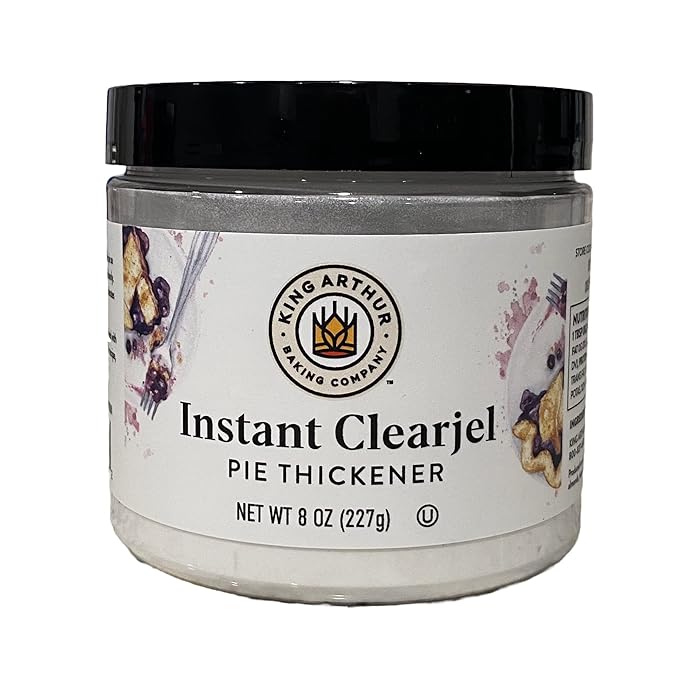
ClearJel: Instant ClearJel is a modified cornstarch ideal for pie fillings, as it thickens the filling without the cloudiness of flour. If ClearJel is hard to find, cornstarch is a good substitute. To swap: Use 1 1/2 T. ClearJel for every 1 T. of cornstarch. If replacing flour or tapioca, use 1 T. of ClearJel for every 2 T. of flour or tapioca.
Vodka: Vodka is a distilled alcoholic beverage made from grains or potatoes. Adding a bit of vodka to pie crust will give it a flaky, tender texture. The alcohol prevents the gluten from developing. This not only keeps the crust flaky, it also prevents shrinking during baking.
brown sugar: Brown sugar is granulated sugar with molasses added, providing deep flavor and moisture to baked goods. Light brown sugar contains 3.5% molasses, while dark brown sugar has 6.5% giving a more robust flavor profile.
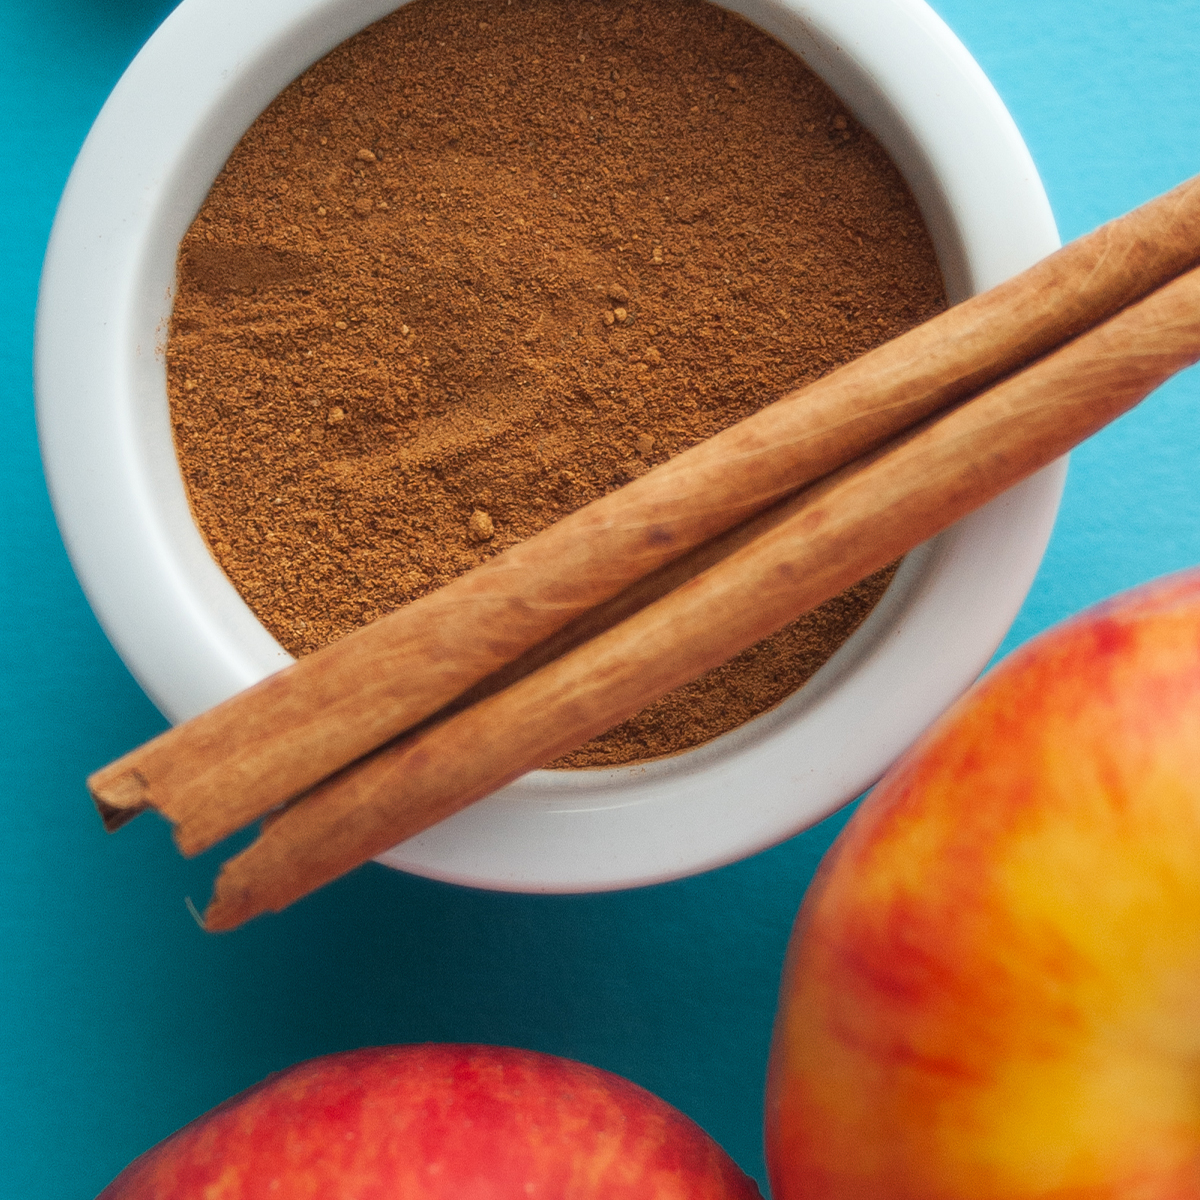
Apple Pie Spice: Apple pie spice is readily available in stores and usually contain a blend of spices like cinnamon, nutmeg, mace and cloves. MAKE YOUR OWN! Just mix a few staple fall spices like cinnamon, nutmeg, ginger, cardamom, and allspice for a custom rich blend. Here is my recipe for Apple Pie Spice blend.
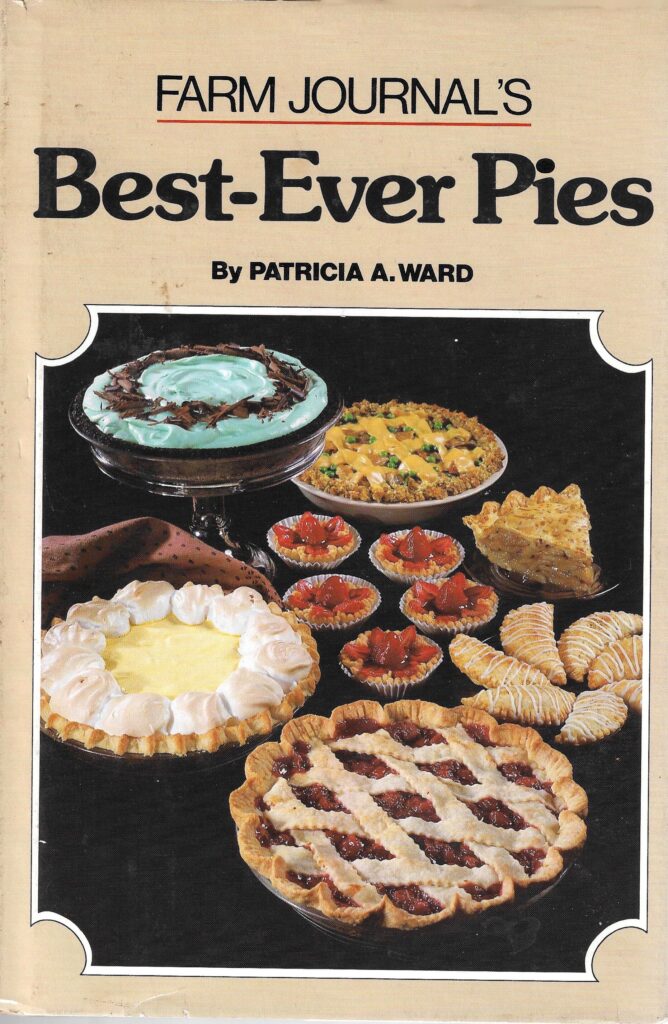
My vintage inspiration for this Apple Cranberry Pie is from my copy of Farm Journal’s Best-Ever Pies (1981). Their recipe states…”One of those pies you’ll want to bake all winter long. Delicious whether you serve it plain or with a scoop of ice cream.” I couldn’t agree more this pie is perfect for Thanksgiving or on a cold winter day.
- The recipe calls for cornstarch, I used Instant ClearJel instead
- Added a bit more fruit for a full pie!
- Added brown sugar in addition to white sugar for more depth of sweetness
- Added apple pie spice to enhance the warmth of flavors
- Added a little bit of orange juice in addition to the orange zest for more zing
FOR THE CRUST
- To avoid a tough crust, add vodka or white vinegar to prevent excess gluten from forming.
- To save time, make the pie crust ahead of time and place in refrigerator or freezer until needed.
- Work quick to keep everything cold as possible.
FOR THE FILLING
- When using frozen fruit, do not thaw before adding it to the pie filling or it can make the pie watery and mushy.
- Fresh fruit filling or pre-made filling will both work. Its easy to pre-make homemade pie filling after you pick or harvest fresh fruit in season. Follow the USDA canning procedures or store in freezer safe containers or ziploc bags.
ASSEMBLE PIE & BAKE
- To prevent a soggy crust, dust the bottom crust with a thickening agent and brush with an egg wash.
- Use a ceramic or glass pie plate, which conduct slow, even heat.
- To make the lattice pattern, cut strips of dough, weave into pattern on top of a piece of parchment paper. Chill until use, and lay the pattern on the top of the filling.
- For a shiny, brown crust, brush the entire pie with egg wash sprinkled with course sanding sugar.
- To ensure the crust from shrinking, put the assembled pie in the fridge for about 15 minutes prior to baking, so it goes cold into a nice, hot oven.
- To help keep the shape of the crust, start baking pie in a hot 400° oven for 15 minutes then reduce oven temp to 375°. Cover crust with pie protector or foil to ensure filling is cooked through but that the crust doesn’t burn.
Dietary Substitutions
For the past 12+ years, I have owned an all-natural specialty bakery converting conventional recipes to gluten-free, vegan, low-sugar, etc. These are proven tips I use to convert conventional recipes into delicious, specialty baked goods.
Here are some proven tips:
TO MAKE GLUTEN-FREE:
- My number one tip is to let the batter rest as hydrating gluten-free flour will help eliminate grittiness. Even letting the batter sit 15 minutes will yield a light and tender baked good. You can let batter sit in the fridge overnight, and up to 3 days.
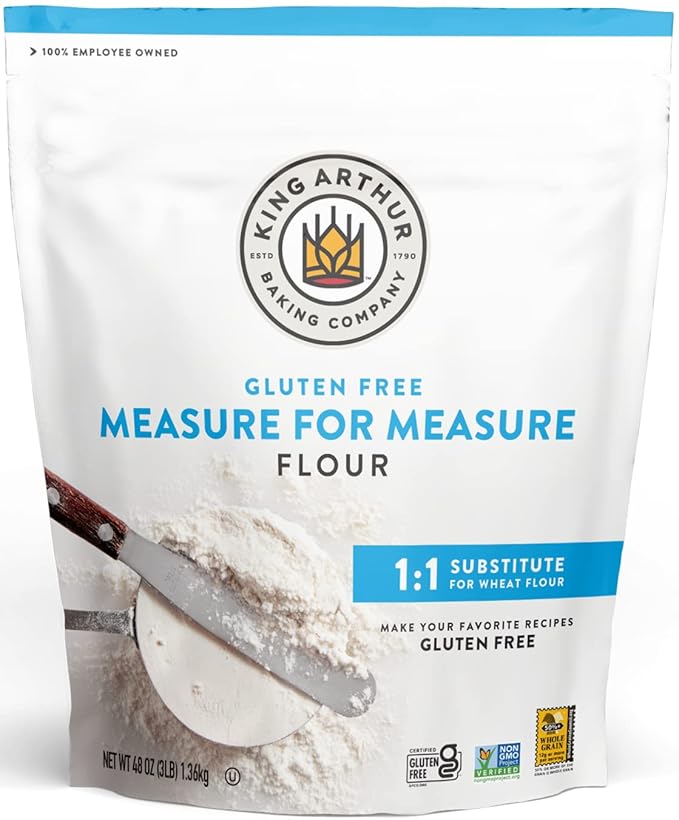
- I recommend using a high-quality brand such as King Arthur’s Gluten-Free Measure for Measure Flour.
- Add 1-2 tablespoons of sour cream when making the pie crust to help hydrate the flour.
- It is best to bake low and slow, so that you don’t burn the crust. Reduce the oven temperature by at least 25° from the directions.
- Storage: Gluten-free baked goods do not have the same shelf-life as conventional baked goods. Store in airtight container on counter 1-2 days, refrigerate 3-5 days, or seal in plastic and place in freezer safe container for up to 6 months. When freezing, allow to come to room temperature before opening the container.
TO MAKE VEGAN/DAIRY FREE:
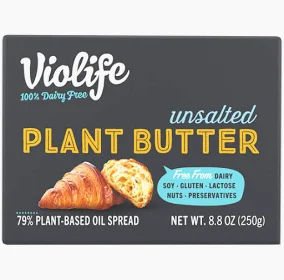

- When making the pie crust, swap out the butter with vegan butter. I like to use Violife Plant Butter OR Country Crock Olive Oil Sticks because they have a subtle flavor. Also choose an unsalted version as many vegan butters are too salty.
- Plant-based butter is mainly made up of mostly oil, so to ensure the crust does not shrink, chill the pie dough before filling and baking and after it is assembled but before it bakes.
Equipment
Recommended tools: (affiliate links)
FOR THE FILLING
FOR THE CRUST
- food processor, stand mixer or pastry blender (by hand)
- liquid measuring cup
- pie plate
- pastry mat
- pastry cutter
- pie shield
- pie weights
Storage
Baked Pie: After the pie is baked, cover pie and leave on counter up to 3 days. You can also freeze a pie that has been baked up to 6 months.
Unbaked Pie: Cover pie with saran wrap or foil. Place covered pie in a freezer-safe container up to 6 months. Bake pie straight from freezer and add additional baking time as needed.
More pie recipes to try:
Apple Cranberry Pie
Ingredients
CRUST
- 2 c. unbleached flour
- 1 tsp. sugar
- 1 tsp. salt
- 12 T. butter cold & diced into cubes
- ⅓ c. ice cold water
- 1 T. vodka lemon juice or white vinegar
PIE FILLING
- 4 c. apples sliced or diced
- 3 c. cranberries fresh or frozen
- ½ c. sugar
- ¼ c. brown sugar
- 2 T. Instant ClearJel
- 2 T. orange zest
- 2 T. orange juice
- 2 tsp. Apple Pie Spice
- 2 T. diced butter
- pinch salt
Equipment
Instructions
PREP
- Prep apples by slicing or cutting into bite-size pieces and set aside.
- Prep cranberries by chopping into large bite-size pieces and set aside.
- Dice up butter into small cubes and put in freezer until making the crust.
- Place ice cubes in glass of water and set aside.
CRUST
- Place flour, sugar, and salt into food processor. Add cold butter, water, and vodka and pulse just until the dough comes together (crumbly).
- Pour out the crust onto a piece of saran wrap, cut in half and shape into (2) round disks. Refrigerate 10-20 minutes if using right away or overnight.
- Pull out first disk for the bottom crust and roll between 2 sheets of parchment paper with enough to hang 1” over your pie pan. Roll out 1/8" thick, use a rolling pin to ensure even layer. Trim excess dough off with paring knife and crimp edge using your fingers or a fork.
- Once you roll out the bottom crust, place it in fridge to ensure the crust from shrinking. Place back in fridge until use. Follow this same process again with the other disk.
- Roll out the second (top) crust. Use a pastry cutter to cut into 10 (1") strips. Cut strips 1" wide with ruler and knife or pastry cutter. Place strips in a weave pattern on a flat baking sheet lined with parchment paper and put back in fridge until ready to use.
- For the top crust cut out decorative shapes with pie cutters or mini cookie cutters and place in fridge until ready to assemble pie.
- To prevent a soggy crust, dust bottom crust with thickening agent (clear jel or tapioca) and then brush lightly with egg wash (1 egg+1 T. cream) and pierce pie shell with fork.
MAKE PIE FILLING
- Place apples, sugar, brown sugar, ClearJel, orange zest and juice, apple pie spice, salt, and stir until incorporated.
ASSEMBLE PIE
- Pull out the bottom crust from refrigerator.
- Pour filling into crust, top with diced butter spread around.
- Place the lattice crust on top of the filling.
- Place decorative shapes on top of lattice crust with a dab of egg wash.
- Brush pie with egg wash and sprinkle with course sanding sugar. Place assembled pie in fridge to chill for 10 minutes.
BAKE
- Bake pie at 400° for 15 minutes. Reduce oven to 375°, cover crust with a pie protector or foil rim around the edge and bake an additional 45-50 minutes.
- Watch to see when pie starts to bubble, remove the pie protector and bake 5 more minutes.
Please let me know how it turned out for you! Leave a comment below and tag @vintagebakedmodern on Instagram and hashtag it #vintagebakedmodern
To read more about Vintage Baked Modern click here.
This post may contain affiliate links, which means we may receive a commission, at no cost to you, if you make a purchase through a link. Please see our full disclosure for further information.