No products in the cart.

Gluten Free Vanilla Cupcakes
Last updated on December 31st, 2025
Table of contents


Wet Ingredients
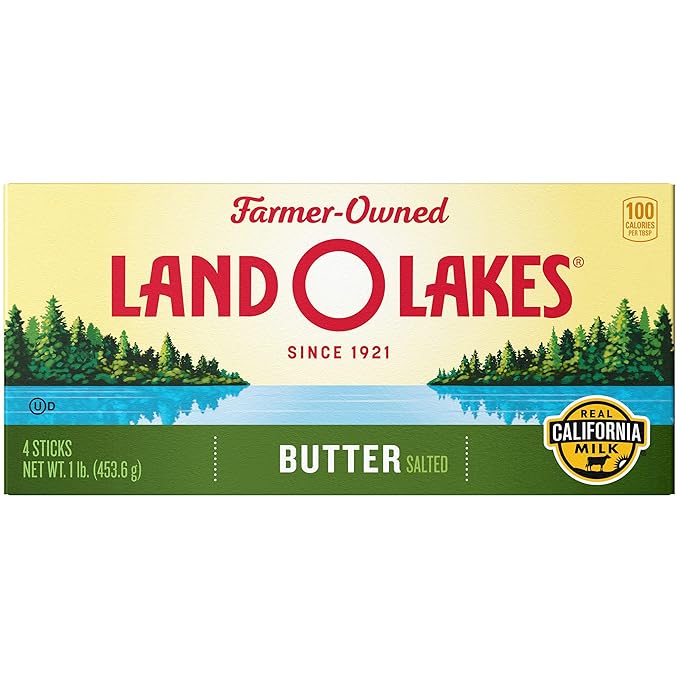
- Butter is made from churned cream that contains 80% butterfat. European butter is churned longer and has a higher fat content (82%-85%), which is why it yields more flavor.
- Eggs are produced by chickens and provide structure and stability in baking, while their proteins trap air, creating natural leavening.
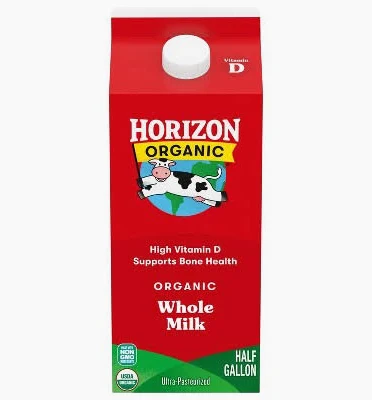
- Whole milk is a cow’s milk that retains its 3.25% natural fat content, giving it a creamy, rich texture.
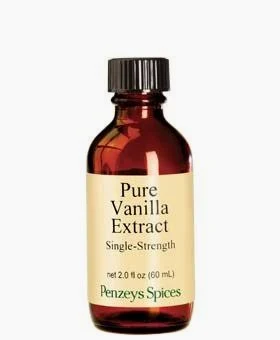
- Vanilla provides warm notes of caramel and spice, enhancing the depth of flavor in baked goods. Choose a pure, all-natural extract made from real vanilla beans with at least 35% alcohol.
Make your own ingredients
Homemade Vanilla: Purchase Grade B vanilla beans (also called extract-grade), which have less moisture and a more concentrated flavor. Place 8 oz. of bourbon (or vodka) in glass bottle or jar. Split 5-7 vanilla beans down the middle and add to bottle. Let it sit for 3-6 months in a cool, dark place. As you use it, continue to replace the bourbon and add more beans as it keeps for many years.
How to make gluten free vanilla cupcakes
Step 1: Make batter
Place gf cupcake mix into mixer or bowl.
Step 2: Add Wet Ingredients
Add in wet ingredients and mix together until combined.
Step 3: Bake
Pour mix into muffin liners and bake at 350° for 20-23 minutes.
Step 4: Storage
Store in sealed container 2-3 days. To freeze, layer cupcakes in container separated by parchment paper, freeze up to 6 months. Let cookies come to room temperature before opening container.
How to make Buttercream Icing
Step 1: Mix wet ingredients
Mix together the butter and eggs, add in vanilla.
Step 2: Add wet ingredients
Add in powdered sugar, meringue powder, and cream and mix on medium speed about 5 minutes until light and fluffy.
Step 3: Add color (optional)
Portion out into small bowls and add dye-free, natural food gel color. Add water in by the teaspoon to get desired consistency.
Step 4: Store
Store in sealed containers on the counter 2-3 days, fridge up to 2 weeks, or freezer 6 months.
Dietary Substitutions
For the past 12+ years, I have owned an all-natural specialty bakery converting conventional recipes to gluten free, vegan, wholesome, etc. You can read more about my pro-baking here.
Here are a few basic tips when converting conventional recipes into specialty baked goods.
- Shelf Life: Specialty baked goods tend to dry out faster and have a shorter shelf life than conventional baked goods. Store in an airtight container on counter for 1 – 2 days. For longer storage, freeze up to 6 months. Avoid refrigerating, as it can dry out baked goods.
- Let Batter Rest: Alternate flours can be dense or slightly gritty compared to white flour, so be sure to let the batter rest at least 15 minutes or overnight in the refrigerator before baking. This allows the flour to fully hydrate and produce a lighter, tender crumb.
- Oven Temperature: Alternative flours are delicate and tend to brown faster before the center is cooked through. Reduce oven to 325° and bake “low and slow,” adding a few extra minutes of bake time if needed.
Vegan/Dairy Free (no animal products)
- Butter: Use unsalted vegan butter sticks such as Violife for best flavor and texture.
- Dairy: Replace dairy with unsweetened plant based milk such as oat, coconut or almond milk.
- Eggs: Replace each egg by adding 1 tsp. baking soda to the batter, then pour 1 Tbsp. white vinegar over it. Add the vinegar last though, to keep the leavening reaction.
Wholesome (minimally processed)
- Dairy: Replace dairy with unsweetened plant based milk such as oat, coconut or almond milk.
- Lower Fat: For every 1 c. of butter, use 3/4 c. heart-healthy oil (like canola or extra-light olive) OR 1/2 c. unsweetened applesauce + 1/2 c. oil.
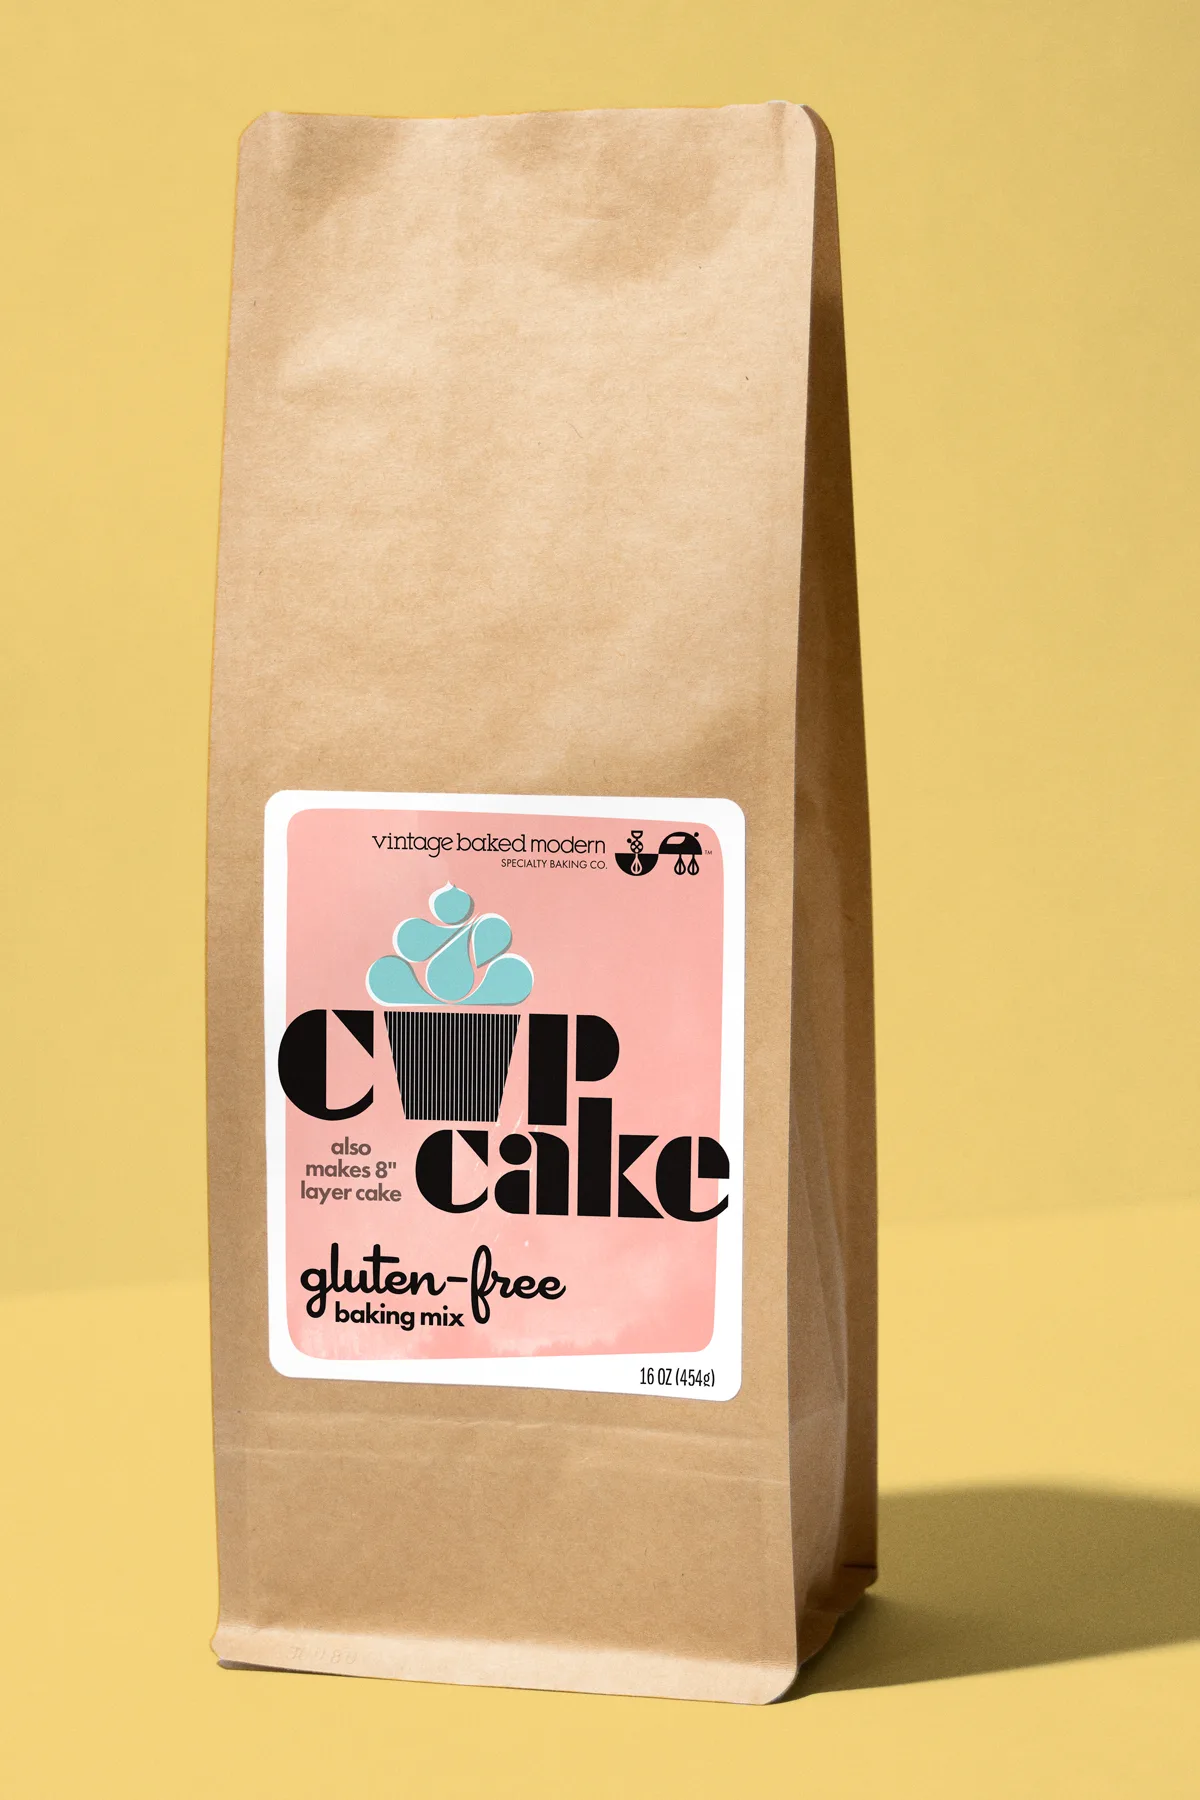
Gluten-Free Vanilla Cupcakes (GF Cupcake Mix)
Servings: 12
Print Recipe Pin RecipeEquipment
- 1 mixer
Ingredients
- 1 Gluten-Free Cupcake Mix
- ½ c. butter or oil
- 2 eggs
- ⅔ c. milk or cream
- 1 ½ tsp. vanilla
FROSTING
- 3 c. confectioner sugar
- 1 c. butter
- 2 Tbsp. meringue powder (optional)
- 2 Tbsp. cream or milk
- 1 Tbsp. vanilla
Instructions
PREP
- Gather equipment: mixer with paddle attachmentl, iquid measuring cup, measuring cups & spoons, off-set spatula or piping bags, cupcake liners, 9×13 baking pan OR (2) 8″ round pans. My favorite is Fat Daddio’s
- Prepare cupcake liners. Place in cupcake pan and lightly spray the pan with cooking spray.
BATTER
- Pour in bag of baking mix into the mixer.
- Add oil, egg, milk and vanilla and mix well. Let batter rest for 15 minutes and mix again to fully hydrate gluten-free flour.
- For best results let batter chill one hour or overnight.
- Scoop batter into standard cupcake liners 2/3 full.
BAKE
- Bake at 350° for 15-18 minutes. Let cool, frost and store in air-tight container.
BUTTERCREAM FROSTING
- Place butter in mixer and beat until light in color.
- Add powdered sugar, meringue powder, cream and vanilla.
- Mix on medium speed until fluffy (about 5 minutes)
Notes
You can use room temp butter or oil, or a combination of both. I recommend using canola oil since it will provide neutral flavor to the cupcake.
Buttermilk yields a light, tender crumb. If you don’t have buttermilk on hand, you can easily make it by placing 1 T. of vinegar into a liquid measuring cup and add whole milk up to make it 1 c.
If time allows, be sure to let the batter rest as hydrating the gluten-free flour is an important step for light and tender bakes. You can make the batter ahead of time and place in the fridge and scoop batter when needed.
For extra light and fluffy frosting, add 1 egg white or 1 T. meringue powder.
Storage: Gluten-free baked goods do not have the same shelf-life as conventional baked goods. Store in airtight container on counter 1-2 days, refrigerate 3-5 days, or seal in plastic and place in freezer safe container for up to 6 months. When freezing, allow to come to room temperature before opening the container.
Gluten Free Baking Mix Recipes


Tried this recipe? Leave a comment below!
Follow us on social
As an Amazon Associate, I may include affiliate links to recommend products I like to use or suggest and may receive a small commission at no cost to you. Please see my full disclosure for more details.
Any commentary, notes, or recipe adaptations are my own and reflect my professional baking experience in a commercial kitchen. I am not a licensed medical professional and do not provide medical advice.
All modern recipe adaptations and photography © 2025 Vintage Baked Modern LLC. Please do not copy or reproduce without permission.