No products in the cart.


Culinary Arts Institute’s “250 Superb Pies and Pastries” (1949)
Last updated on September 27th, 2026
Table of contents
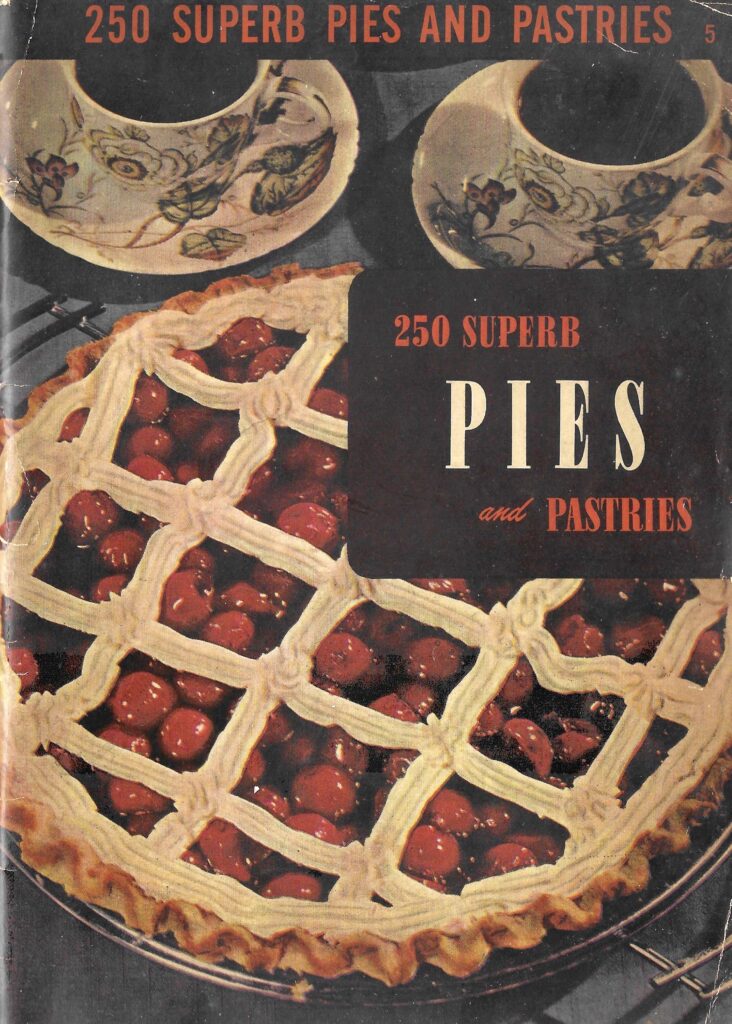
This 1949 “Encyclopedia of Cooking.” is divided into several sections, and this berry pie recipe is featured in the “250 Superb Pies and Pastries” stand alone section.
Culinary Arts Institute 250 Superb Pies and Pastries (1949), is a beloved cookbook that guides home cooks with recipes for pies, pastries and more! This vintage cookbook helps home cooks learn culinary practices from the Culinary Arts Institute with simple food.
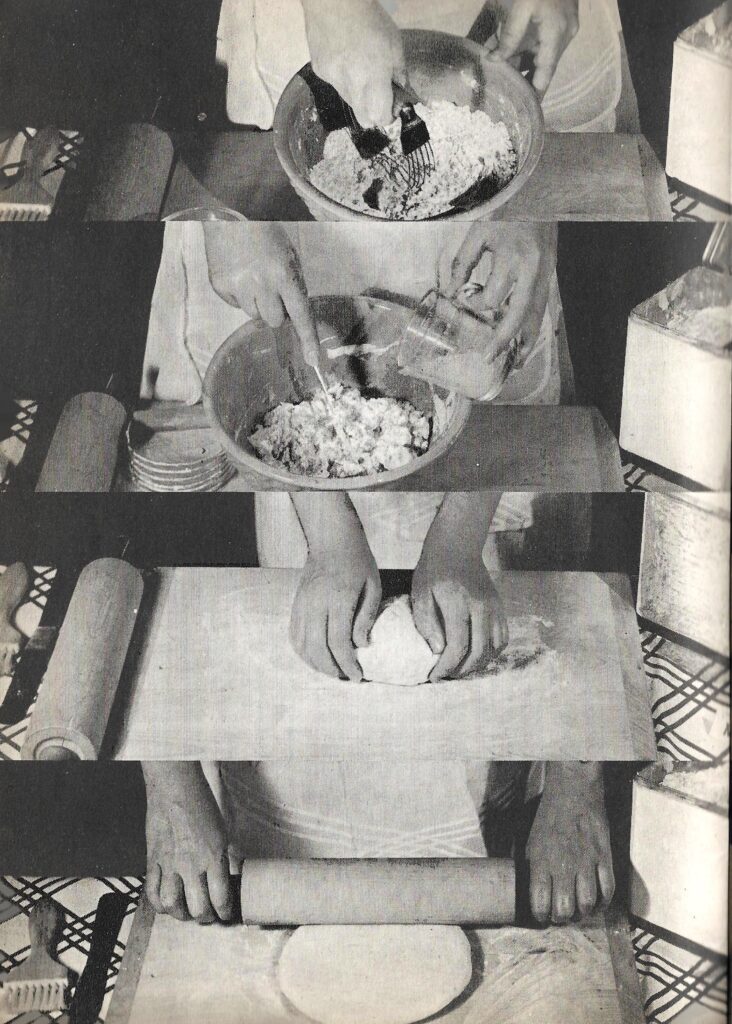
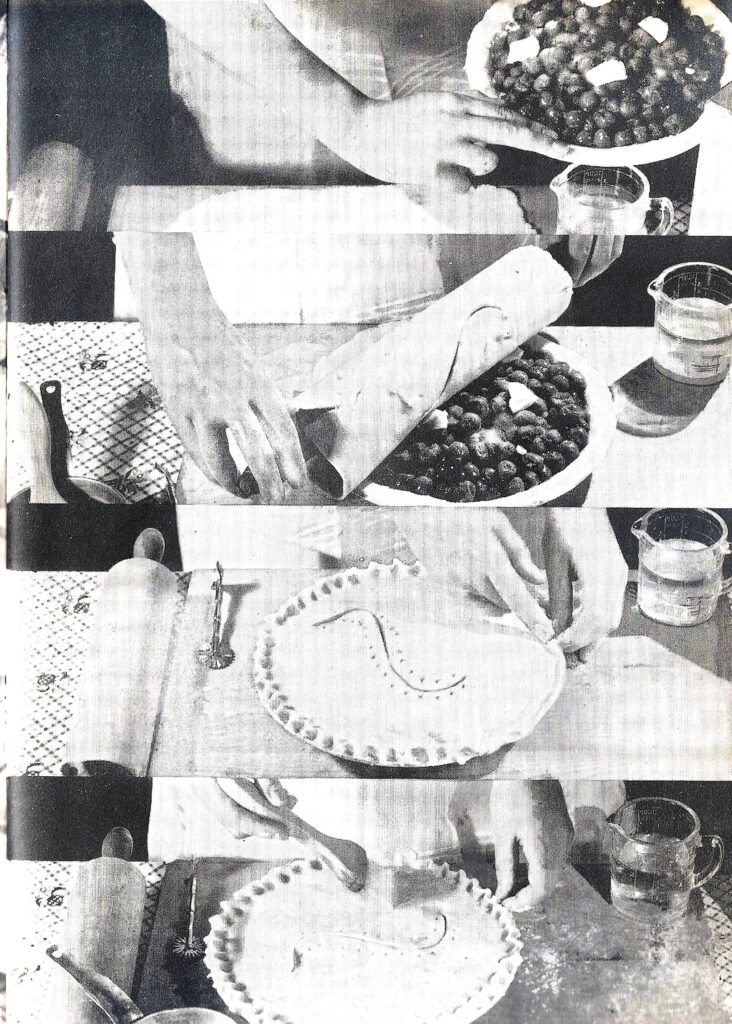
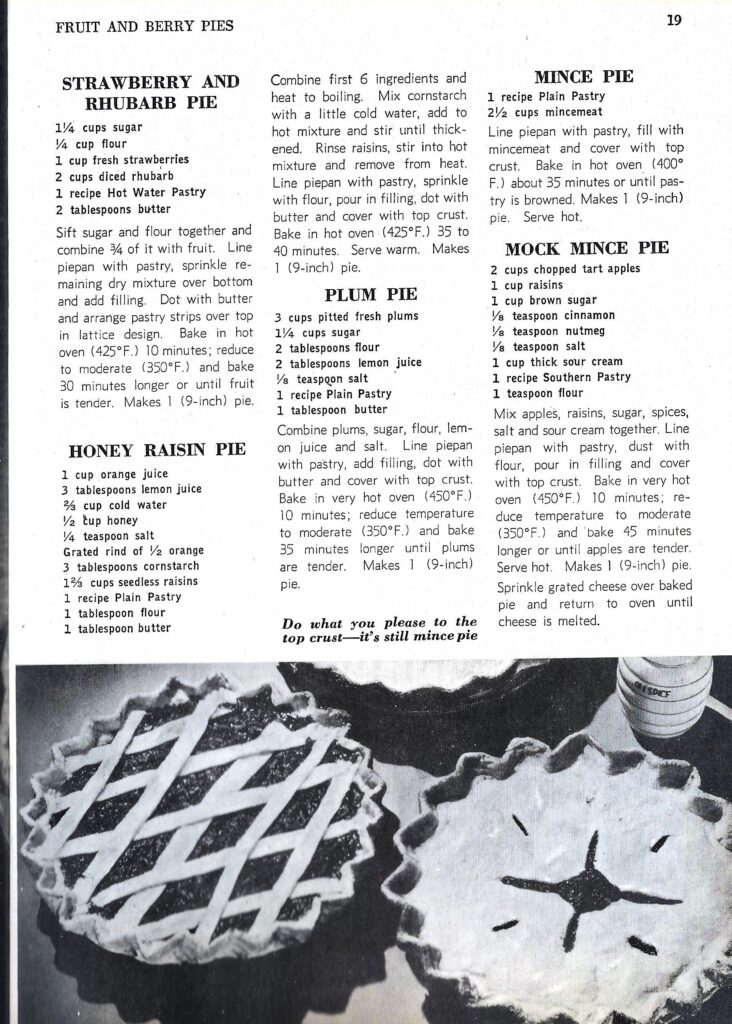
STRAWBERRY AND RHUBARB PIE (original recipe)
1¼ cups sugar
¼ cup flour
I cup fresh strawberries
2 cups diced rhubarb
1 recipe Hot Water Pastry
2 tablespoons butter
- Mix together sugar and flour and combine ¾ of it with fruit.
- Line pie pan with pastry, sprinkle remaining dry mixture over bottom and add filling.
- Dot with butter and place strips over top of fruit in lattice design.
- Bake at 375° for 10 minutes and reduce to 350° and bake 30 minutes longer or until pie bubbles.
- YIELD: Makes 1 (9″) pie.
Modern Recipe Remake

Strawberry Rhubarb Pie
This Strawberry Rhubarb Pie has a perfect combination of sweetness from fresh picked strawberries and tart rhubarb.
Check out this recipeBaker’s Tips
Crust
- To tenderize the crust, add vodka or white vinegar to prevent excess gluten from forming. This not only keeps the crust flaky, it also prevents shrinking during baking.
- To save time, make the pie crust ahead of time and place in refrigerator or freezer until needed.
- Work quick to keep everything cold as possible.
- Dice the butter into small cubes and put into the freezer prior to making the pie dough. Chill water with some ice cubes before using. After you roll out the crust, put in fridge for 15 minutes so it’s cold going into a hot oven. This step will help keep the crust from shrinking.
- Cover crust with pie protector or foil to make sure the filling is cooked through but that the crust doesn’t burn.
- To prevent a soggy crust, dust the raw crust with a thickening agent (cornstarch or flour) and then lightly brush with egg wash (whisk together 1 egg + 1 T. cream) before adding in the filling.
- After you dust the raw pie crust dough, prick the bottom and sides with a fork. This will help steam escape and keep the bottom of the pie flat. Another way to keep the bottom flat is to cover the crust with parchment paper and place ceramic pie weights or raw, whole beans over the parchment paper.
- Use a ceramic or glass pie plate, which conduct slow, even heat. Other types of pie plates include glass or metal. Glass will also conduct slow, even heat and also shows if the bottom crust has browned nicely. Metal pans, especially if they are dark, may brown the crust too fast, which could burn or overbake your pie.
- After you roll out the crust, place it in the fridge to chill. This will help the crust from shrinking.
FILLING
- When using frozen fruit, do not thaw before adding it to the pie filling or it can make the pie watery and mushy.
- Fresh fruit filling or pre-made filling will both work. Its easy to pre-make homemade pie filling after you pick or harvest fresh fruit in season. Follow the USDA canning procedures or store in freezer safe containers or ziploc bags.
ASSEMBLE PIE & BAKE
- To make the lattice pattern, cut strips of dough, lay down into a flag pattern on top of a piece of parchment paper. Chill until use, and lay the pattern on the top of the filling. Cut the star shapes from mini-cookie cutters.
- For a shiny, brown crust, brush the entire pie with egg wash sprinkled with course sanding sugar.
- Put the assembled pie in the fridge for about 15 minutes prior to baking to ensure the crust from shrinking.
- Cover crust with pie protector or foil to make sure the filling is cooked through but that the crust doesn’t burn.
Related Recipes
Pie Recipes
Leave a comment below and let me know how it turned out for you!
FOLLOW US ON SOCIAL! Stay connected with us for more vintage recipes baked modern!
📌Pinterest 👍Facebook 📷Instagram 🎵 TikTok ▶️ YouTube
This post includes my photographs and limited text excerpts used for identification, commentary, and historical discussion. The cookbook content shown is attributed to the original publication. All modern commentary, recipe adaptations, baking notes, and original food photography are © Vintage Baked Modern LLC.
The dietary variations such as gluten-free, dairy-free, and vegan options, are provided as general baking suggestions based on my recipe testing and professional baking experience. I am not a registered dietitian or medical professional. Be sure to verify product labels and consult a qualified professional regarding allergies, medical conditions, or individual dietary needs.
