
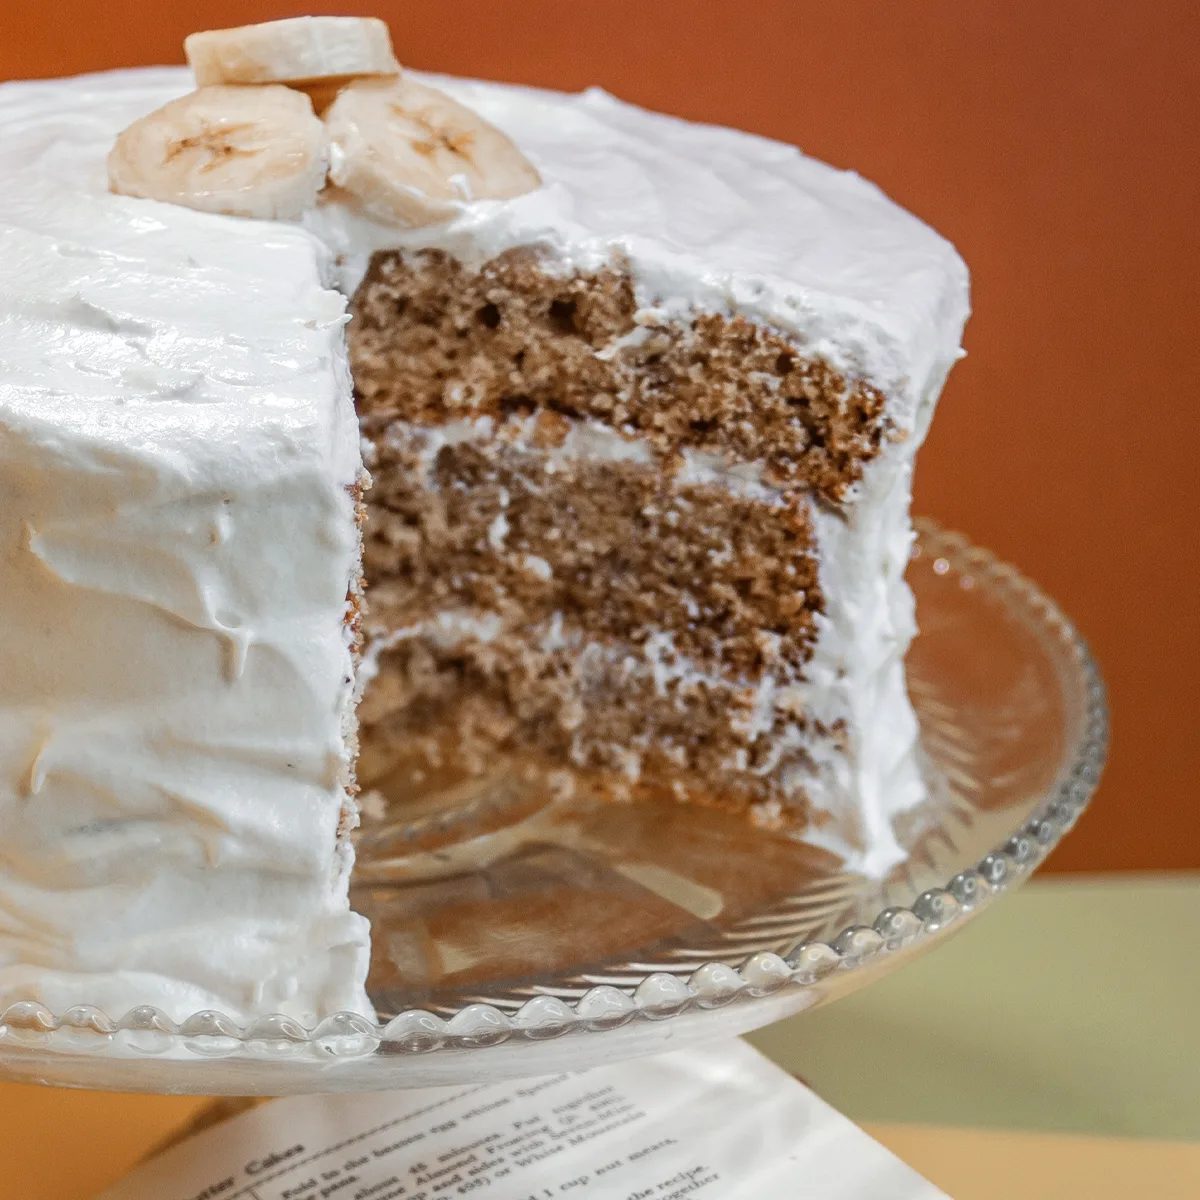
Old-Fashioned Banana Cake
Last updated on April 6th, 2026
Table of contents
This Old-Fashioned Banana Cake is everything a banana cake should be: soft, tender layers with a hint of warm spice and a tangy, simple cream cheese frosting. Simple enough for a weeknight, yet beautiful enough to dress up on a cake stand for Sunday dinner, and the perfect way to use up those overripe brown bananas on your counter.
My vintage recipe inspiration comes from a Banana Cake recipe from my well-worn copy of “The Fannie Farmer Cookbook (1965).” Using my Vintage Baked Modern approach, I modified the original recipe to bring it up to modern baking methods: used a combination of butter and oil keeps the crumb moist without losing that rich, buttery flavor, added buttermilk for tang and tenderness, and whipped the egg whites separately to give the layers a lighter, more delicate texture.
The result is a soft, from-scratch banana cake with old-fashioned flavor and a few modern baker’s tricks that guarantee it comes out right every time.


Ingredient Notes
I always use all-natural ingredients as the foundation of my bakery business and blog. When I can’t find them, I make them from scratch.
Bananas: Look for bananas with plenty of brown spots to lend the most natural sweetness and moisture.
Butter + oil: Use a combination of both – butter for flavor, and oil to keep the crumb moist. Use a mild oil such as canola or ‘extra light’ extra virgin olive oil so that it doesn’t overpower the flavor of the cake.
Buttermilk: Adds tang and tenderness you won’t get from regular milk. When purchasing buttermilk, look for simple ingredients such as “cultured milk” on the label as some brands can be loaded with stabilizers and starches.
Egg whites: Whipping the egg whites separately and folding them in gives the layers a lighter, more delicate texture.
Vanilla: Look for a high-quality, all-natural brand made from real vanilla beans containing at least 35% alcohol.
Cream cheese: Use full-fat brick cream cheese, the whipped or spreadable varieties contain liquid and other additives, and will make your frosting too soft to hold its shape.
How to make Banana Cake
Step #1:
PREP
☑Preheat oven to 350°F.
☑Spray three 8″ cake pans with cooking spray and dust lightly with flour.
☑Whisk dry ingredients together in a bowl and set aside.
☑Mash bananas and set aside.
☑Separate eggs, add the whites to your mixer bowl. Whip egg whites to stiff peaks, then transfer to a separate bowl and set aside.
Step #2:
☑Cream butter and sugar together until light and fluffy.
☑Add egg yolks and vanilla and mix to combine.
☑Add the dry ingredients and mix, then add the buttermilk and mix until just combined.
☑Fold in the whipped egg whites in by hand — or you’ll lose the lift.
Step #3:
☑Divide batter evenly between prepared pans, filling each no more than ⅔ full.
☑Bake at 350°F for 35–40 minutes, or until a toothpick inserted in the center comes out clean.
☑Place cookie sheets over cake pans to lock in moisture.
☑Cool in pans for 10 minutes before turning out.
Step #4:
☑Beat cream cheese and butter together until light and fluffy.
☑Add confectioners’ sugar and vanilla and beat for about 5 minutes until smooth.
Step #5:
☑Run a knife or spatula around the edge of each pan to release, then turn layers out onto parchment paper.
☑Place the first layer on your cake plate and frost the top using an offset spatula or piping bag.
☑Add the second layer and repeat.
☑Place the third layer on top and apply a thin crumb coat over the top and sides.
☑Refrigerate for 10–15 minutes to set, then apply the final coat of frosting.
☑For the top coat, scoop dollops of frosting in the center and use a back-and-forth motion with your offset spatula to create soft swirls.
Step #6:
☑Use a simple garnish like fresh banana slices or pipe on the frosting.
☑Cover in air-tight container and leave on counter up to 3 days. To freeze, cover unfrosted cake layers in saran wrap and place in freezer-safe container up to 6 months. Thaw on counter in the container for 1/2 hour before opening up the container.
FAQ’s
Always use light-colored aluminum cake pans, which conduct heat evenly for a consistent bake. Dark pans absorb more heat and can darken or burn the edges before the center is fully baked.
Yes! Pour the batter into a greased 9×13″ pan for about 35–40 minutes or use a half-sheet pan and bake for about 18-25 minutes. Bake time will vary depending on pan size and depth.
Yes, you can make cake batter and store in fridge up to 3 days before baking. You can also make the frosting ahead of time, just allow time to bring to room temperature to soften before frosting the cake.
Storage
Baked Cake: Cover in air-tight container and leave on counter up to 3 days.
To freeze, wrap unfrosted cake layers separately in saran wrap and place in freezer-safe container up to 6 months. Thaw on counter in the container for 1/2 hour before opening up the container.
Unbaked Batter: Prepare batter and place in a sealed container up to 3-5 days in refrigerator.
How to decorate vintage cakes
Keep your cake plate clean: Place 3 cut rectangular strips of wax paper along the edges of your cake.
Apply a crumb coat: Frost the top and the sides to seal in any loose crumbs. Put cake in the fridge to chill for about 10-15 minutes before adding the final coat of frosting.
To frost the top coat: Start by scooping dollops of frosting onto the top of the cake and push down the excess top frosting down onto the sides. Use a back-and-forth motion with an off-set spatula to create large swirls.
To add a spiral retro pattern:Start at the outer edge of the top and slowly spin your cake plate inward toward the center. For the sides, start at the bottom and spin upward.
Simple Garnish:To keep the look classic, finish with a simple garnish of whole or crushed nuts, sugared or fresh fruit, or a mini bouquet of fresh flowers.
Dietary Substitutions
For the past 13 years, I’ve owned an all-natural specialty food company, specializing in converting conventional recipes to gluten free, vegan, wholesome, etc. You can read more about my professional baking background here.
Here are a few key tips when converting conventional recipes into specialty baked goods.
- Shelf Life: Specialty baked goods tend to dry out faster and have a shorter shelf life than conventional baked goods. Store in an airtight container at room temperature for 1 – 2 days. For longer storage, freeze up to 6 months. Avoid refrigerating, as it can dry out baked goods.
- Let Batter Rest: Alternative flours can be dense or slightly gritty compared to white flour, so be sure to let the batter rest at least 15 minutes or overnight in the refrigerator before baking. This allows the flour to fully hydrate and produce a lighter, tender crumb.
- Oven Temperature: Alternative flours are delicate and tend to brown faster before the center is cooked through. Reduce oven to 325° and bake “low and slow,” adding a few extra minutes of bake time if needed.
Gluten-Free (no gluten)
- Flour: Swap out the flour with a premium gluten-free flour such as King Arthur Measure for Measure or use a homemade gluten-free flour blend. Be sure the flour blend contains xanthan gum or add 1/4 tsp. to 1/2 tsp. per every 1 cup of flour to the recipe. Here is a list of some other gluten-free flours to try.
- Hydration: Add 1 tablespoon of additional extra liquid (the same liquid called for in the recipe) to help lighten the texture.
- Fat: Add 1 to 2 Tbsp of additional fat, such as butter or oil to improve moisture.
Vegan/Dairy Free (no animal products)
- Butter: Use unsalted vegan butter sticks such as Country Crock unsalted vegan butter for best flavor and texture. For the cream cheese use Violife Cream Cheese.
- Dairy: Replace dairy with unsweetened plant based milk such as oat, coconut or almond milk.
- Eggs: For each egg, add 1 tsp. baking soda to the batter and pour 1 Tbsp. white vinegar over it. Always add the vinegar last to preserve the leavening reaction.
- Fat: Add 1 to 2 Tbsp of additional fat like oil or vegan butter to compensate for the loss of moisture from the eggs and dairy.
Wholesome (minimally processed)
- Flour: Swap out 1/3 to 1/2 of the white flour with King Arthur white whole wheat flour or King Arthur 100% whole wheat flour or Bob’s oat flour.
- Sweetener: Replace white sugar with maple syrup or honey. Use 3/4 c. honey for every 1 cup of sugar OR replace white sugar with 1:1 swap using natural cane sugar, coconut sugar or date sugar.
- Dairy: Replace dairy with unsweetened plant based milk such as oat, coconut or almond milk.
- Fat: For every 1 cup of butter, use 3/4 c. heart-healthy oil (like extra-light olive) OR use 1/2 c. unsweetened applesauce plus a 1/2 c. oil for a lower-fat option.

Old-Fashioned Banana Cake with Cream Cheese Frosting
Equipment
- measuring cups & spoons
- (3) 8" Cake Pans
Ingredients
DRY INGREDIENTS
- 2 ⅔ c. unbleached flour
- 2 T. cornstarch
- 2 ½ tsp. baking powder
- ½ tsp. baking soda
- 1 tsp. salt
WET INGREDIENTS
- ½ c. butter room temp
- ½ c. oil canola or extra light olive oil
- 1 ⅔ c. sugar
- 2 c. bananas mashed
- 3 eggs (separate out whites)
- 1 c. buttermilk or sour cream
- 1 T. vanilla
FROSTING
- ½ c. butter room temp
- 8 oz. cream cheese room temp
- 3 c. confectioners' sugar
- 1 T. vanilla
Instructions
PREP
- Preheat oven to 350°. Prepare (3) 8” pans by spraying with cooking oil spray and flour lightly.
- Whisk together dry ingredients in bowl and set aside.
- Mash bananas and set aside.
- Separate eggs. Add egg whites to mixer and whip up the egg whites until stiff peak, remove from mixing bowl and set aside.
BATTER
- Add to mixer, the butter and sugar and cream together until light and fluffy.
- Add in the egg yolks and vanilla and mix .
- Add the dry ingredients and mix until just combined.
- Add the buttermilk and mix until just combined.
- Fold in the whipped egg whites and stir by hand into the cake batter.
BAKE
- Pour batter into greased cake pans up to 2/3 full.
- Bake at 350° for 35-40 minutes or until toothpick in center comes out clean.
FROSTING
- In a mixer, cream together cream cheese and butter until light and fluffy.
- Add confectioners' sugar and vanilla. Beat together about 5 minutes.
ASSEMBLE CAKE
- Slide a knife or spatula around cake to release from the sides. Turn cake out onto a piece of parchment paper.
- Place one layer on cake plate and frost using an off-set spatula or pipe frosting using a piping bag around the perimeter of the cake and then fill in the center. Repeat this and add second layer on top of the first layer and frost.
- Add the third cake layer and frost top layer and sides of the cake. Use a simple garnish like banana slices or pipe on the frosting.
Related Recipes
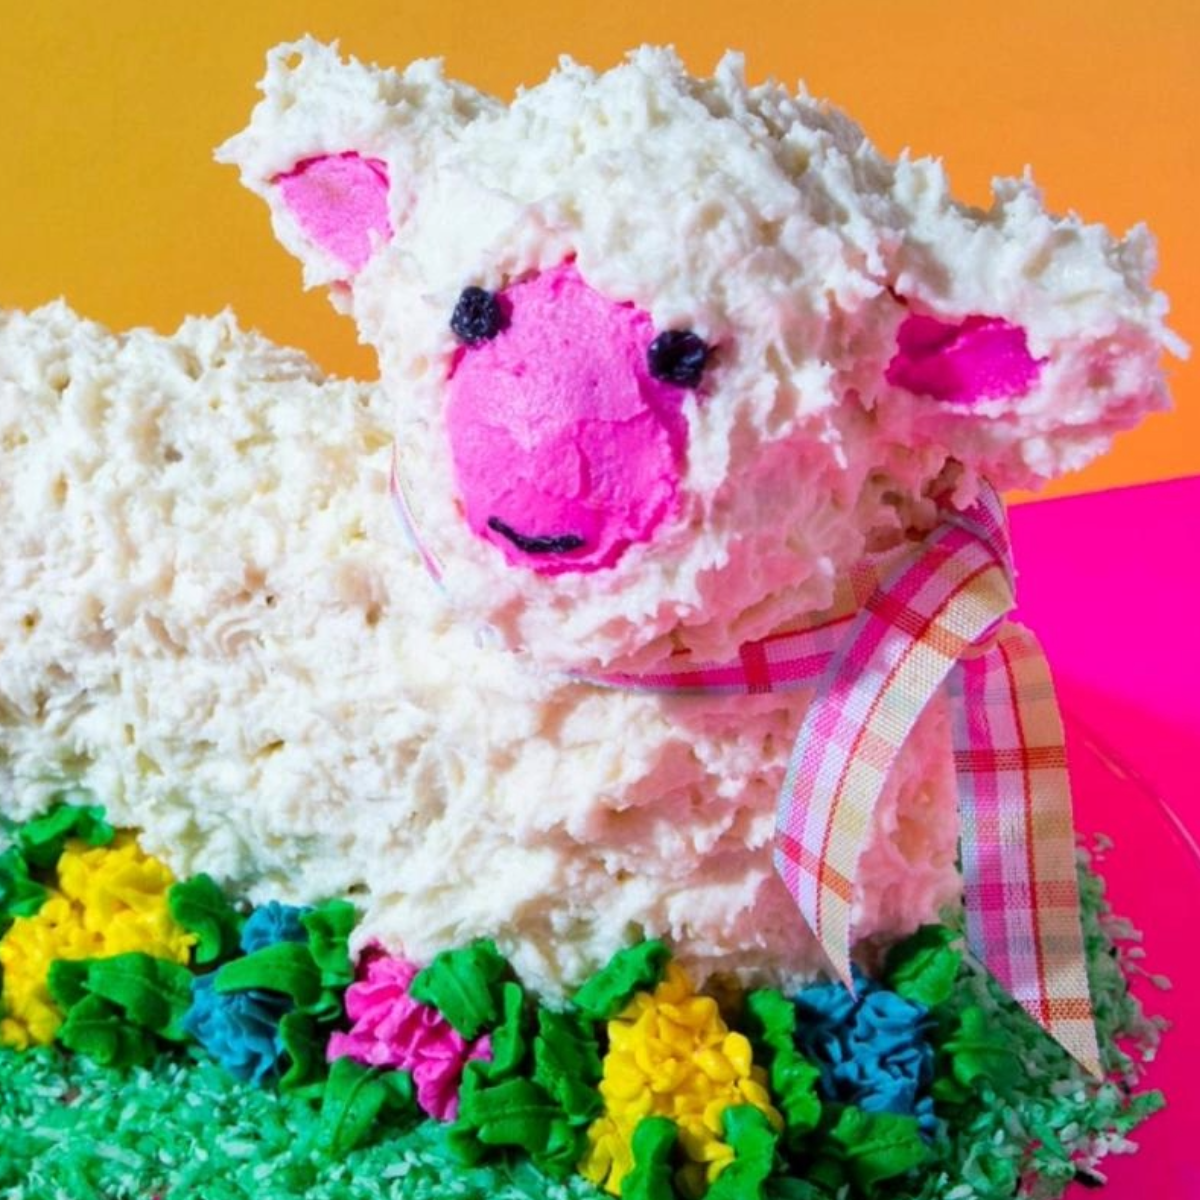
More vintage cakes
1960’s cookbooks
Tried this recipe? Leave a comment below!
Follow us on social to see more of our cozy collection curated for nostalgic bakers who love looking at vintage cookbooks, original vintage recipes, and retro magazine clippings.
📌Pinterest 👍Facebook 📷Instagram 🎵 TikTok ▶️ YouTube
As an Amazon Associate, I may include affiliate links to recommend products I like to use or suggest and may receive a small commission at no cost to you. Please see my full disclosure for more details.
This post includes original cookbook images and text excerpts shared for educational and historical purposes. All rights belong to the original publisher. Any commentary, notes, or recipe adaptations are my own and reflect my professional baking experience in a commercial kitchen. I am not a licensed medical professional and do not provide medical advice.
All modern recipe adaptations and photography © 2026 Vintage Baked Modern LLC. Please do not copy or reproduce without permission.